ENCY 3 User Manual
  • ENCY 3 User Manual
v3.1.20
Search Results for

    Show / Hide Table of Contents
    • Introduction to ENCY
      • System requirements
      • Configurations and options
      • Standard package
      • Program installation and launch
      • System files
      • Technical support
    • Brief and to the point
      • Ideology of ENCY
      • Fast familiarization with the system
      • What's new in ENCY 3.0
    • General information
      • Home Page
        • Project library
      • System's main window
        • Application Toolbar
          • Smart Snap
          • Measurement and analysis
          • Autosaves and Project snapshots
          • Project library
          • Machine setup (project template)
          • AI assistant
          • Version info window
        • Graphic window and visualization control
          • Standard views
          • Objects selection mode
          • Window zoom
          • Interactive rotate
          • Interactive pan
          • Interactive zoom in and out
          • Zoom extents
          • Undo view
          • Redo view
          • Section plane
          • Rotation Mode
          • Gimbals
          • Interactive linear axis ruler
        • Work modes
        • Selection filter
        • Visibility panel
        • Geometrical coordinate systems
          • Creation of the coordinate system via dialogue window
          • Smart LCS creation
          • Creation of the coordinate system by the origin point and two leading vectors
          • Creation of the coordinate system by the current view direction
          • Changing properties of an existing coordinate system
        • Machine axes control panel
          • Interactive Machine
        • Graph of the machine axes window
        • Holder occlusion check utility
        • Utilities button of main panel
        • Help button of main panel
        • Process indicator
        • Application events notifications
        • Multiproject interface
      • System settings window
        • Folders tab
        • Measurement units tab
        • Visualization tab
        • Colors tab
        • Import tab
        • Additional tab
        • Machining tab
        • Online features tab
        • Extensions tab
        • PLM connections tab
      • Exchange files
        • Projects files
        • Importable files
        • DXF export
        • Postprocessor tuning files
        • NC program files
        • Interpreter files
        • Machine schema files
        • Encrypted containers .stfc
        • Machine setup files
      • Updating
      • Container manager
      • Licence manager
      • System logs
      • Work with a team in the cloud
    • Geometrical model preparation
      • Geometrical model structure
        • Geometrical objects types
          • Faces, meshes, curves and points
          • Groups (folders)
          • Active folder
          • PMI
        • Geometrical model structure window
        • Object selection
        • Intellectual object selection
        • Geometrical model structure editing
          • Creating a new group
          • Geometrical model structure updating
          • Working with the exchange buffer
      • Geometrical objects import
        • Importing objects from IGES files
          • Requirements for IGES-file
          • Types of importable objects
          • Recommendations on how to adjust IGES-export module in your modeling program
        • Importing objects from STEP files
        • Importing objects from DXF files
        • Importing objects from PostScript files
          • Installing the GhostScript Library
        • Importing objects from STL files
        • Importing objects from PLY files
        • Importing objects from AMF files
        • Importing objects from VRML files
        • Importing objects from 3dm files (Rhinoceros™)
        • Importing objects from Parasolid™ files
        • Importing objects from SolidWorks™ files
        • Importing objects from SolidEdge™ files
        • Importing objects from SGM files
        • Importing objects with CAM system addins
        • Importing objects from 5DC files
        • Addins for CAM system
          • Addin Manager
          • Addin's list
            • Autodesk Inventor™ toolbar & import addin
            • CADbro™ toolbar
            • FreeCAD™ toolbar & import addin
            • Alibre Design™ toolbar & import addin
            • IronCAD™ toolbar
            • NX™ toolbar & import addin
            • Rhinoceros toolbar & import addin
            • SolidEdge™ toolbar & import addin
            • SOLIDWORKS™ toolbar & import addin
            • SpaceClaim™ toolbar & import addin
            • ZW3D™ toolbar & import addin
            • Onshape™ connector
            • CAXA 3D™ toolbar
            • KeyCreator™ toolbar
            • SolidCAM™ toolbar & import addin
          • Associativity for Addin`s
      • Editing geometrical model
        • Geometrical object properties
          • General tab
          • Visual tab
          • Machining tab
          • Parameters tab
        • Changing visual properties
        • Delete
        • Spatial transformations
        • Inversion
        • Surfaces boundary projection
        • Join curves
        • Surface triangulation
        • Creating text
        • Intersect
        • Sew Faces
        • Export of 3D Model
        • Patch hole
        • Extract isolines
        • Simplifying geometrical model
        • Working with splines
        • Extend surface
      • 2D Geometry sketcher
        • Building and editing elements
        • Line
        • Arc
          • Two points and radius
          • Center, starting point and angle
          • By three tangents
          • Edit arc
        • Circle
          • Build Circle with Center and radius. Edit circle
          • Circle by three tangents
        • Rectangle
          • By two points
          • By side and height
          • By center and point
          • Edit rectangle
        • Contour
          • Build by elements
          • By zone or border
          • Edit contour
          • Spline
          • Archimedean spiral
          • Function profile
        • Chamfer and Rounding
        • Dimension
          • Linear dimension
          • Radial dimension
          • Angular dimension
        • Offset
        • Annotations
        • Trim function
        • Split object
        • Additional functions
          • Copy
          • Shift
          • Rotate
          • Mirror
        • Named block
          • Block parameterization
        • Constraints
          • Editing links in a block
        • Drawing example
        • Example of building a drawing using constrains
        • Planes
      • Design (3D Geometry)
        • Main window
        • Design in 2D mode
        • Design in 3D mode
        • Direct Modeling
      • Nesting
    • Creating machining technology
      • Common principles of technology creation
        • Selection of a machine and its parameters definition
        • Defining machining sequence
        • Creating new operation
        • Executing operation
        • Generating NC code
        • Machining report
        • Standard machining sequences
        • Operations setup
          • Geometrical parameters of an operation
          • Defining part, workpiece and fixtures
          • User operations
          • Operation status panel
          • Conversion of arbitrary toolpath to 6D Contour operation
        • Tool path template
          • Macro commands in the tool path template
        • Auxiliary operation
        • Collision Detection in Background Simulation
          • List of Operation Statuses
        • Editing of the Collisions Ignore List
        • Toolpath recalculation control
        • User defaults in inspector
      • Structure of the machining mode
        • Machine setup panel
          • 3D Tool Compensation
        • Setup panel
          • Positioning of part at machine (Workpiece setup)
          • Workpiece coordinate system (G54 - G59)
          • Operation local coordinate system
          • Tool orientation
        • Job assignment
          • Base surface
          • Faces
          • Curve
          • Job zones
          • Top and bottom levels
          • Pocket feature
          • Restrict zones
          • Tabs
          • Job assignment for engraving and pocketing operations
          • Job assignment for hole machining operation
            • Defining holes by coordinates
            • Defining holes by using a geometrical point object
            • Automatic hole recognition
            • Creating hole pattern
            • Holes sorting
          • Recognize features
          • Restrictions
        • Operation parameters
          • Check Holder (Avoid collisions)
          • Layer time
          • Power
          • Use new calculation method for Rotary roughing/finishing
          • Weaving
        • Links/Leads
          • Approach/Return
            • Approach and return rules
              • Approach/return rules edit window
              • Machine's approach/return list
            • Tool change position
          • Safe Motions
          • Advanced Links Settings
          • Links
            • Links based on the Roughing waterline
            • Links for 3D/5D advanced operations
            • Links for 3D operations
            • Links for countouring operations
            • Links in сladding operations
            • Links in drilling operations
          • Leads
            • Leads based on the Roughing waterline
            • Leads based on the Face Milling
            • Leads for 3D operations
            • Leads for 3D/5D advanced operations
            • Leads for countouring operations
            • Leads for сladding operations
          • Distances
            • Distance for 3D operations
            • Distances based on the Face Milling
            • Distances based on the Roughing waterline
            • Distances for 3D/5D advanced operations
            • Distances in drilling operations
          • Allow plunges
        • Transformation
          • Cylindrical interpolation
          • Polar interpolation
        • Feeds/Speeds
          • Corner control
          • Feeds/Speeds (Calculate)
        • Holes (Drill points)
        • Fixtures
      • Structure group of operations
        • Setup stage
        • Part (group)
        • Copy of part
        • Multiply Group
      • Sequencing mode
      • List of types of machining operations
      • Basic technology terms
        • Group
        • Part
        • Workpiece
        • Machining result
        • Tool
          • Mill tool
          • Lathe tool
          • Tool overhang
        • Stock
        • Relief Angle
        • Lateral Angle
        • Adaptive Step (Selection step by scallop height)
        • Frontal angle
        • Machining methods in drive operations
        • Trohoidal machining (Equidistant legacy)
        • Tool magazine
        • Tool compensation in mill operations
      • Mill machining
        • Types of machining operations
        • Holes
          • Hole machining
          • FBM Mill
            • FBM Machining Procedure
            • FBM Procedure Library UI
            • Feature Tree UI
            • Assigning procedures to features UI
            • Procedure Editing UI
            • Operations generation parameters
            • FBM Mill operation parameters
        • 2D
          • Pocketing
          • Engraving
          • 2D contouring
        • Basic
          • Face milling
          • Roughing waterline
            • Plunge roughing
          • Finishing waterline
          • Roughing plane
          • 2.5D contouring
          • Flat land
          • 3D contouring
        • Advanced
          • Combo finish
          • Surfacing
          • Scallop
          • Helical
          • Morph
          • Undercut waterline
          • Swarf
          • 5D Roughing waterline
          • 5D by meshes
          • 6D Contouring
            • Parameters of Drive Faces
            • Parameters of Curves
            • 5-axis milling of the ruled surfaces by the flank of the mill
            • Feeds control feature
            • Using custom vectors feature
          • Contour polishing
        • Rotary
          • Rotary waterline
          • Rotary roughing
          • Rotary finishing
          • Morph 4D
          • 4D Surfacing
          • 4D Contouring
        • Turbomachinery Milling
          • Impeller Machining
          • Blade Machining
        • Rest machining
          • Corners cleanup
          • Pencil
          • Chamfering
        • High performance cutting (HPC)
        • Operations setup
          • Using design and machining features in Job Assignment
            • Creating operations for selected features
            • Spline curves drawing
          • Job assignment for the 2.5D machining operations
          • Milling by axis count
            • Operations for 2/2.5-axes milling
              • 2.5D machining operations
            • Operations for the 3-axes milling
            • Operations for 4-axes and 5-axes milling
              • 4-axis milling with engraving and pocketing operations
              • 5 axis machining
              • Indexed 5-axes milling
              • Rotary machining using cylindrical interpolation
              • 5 axis tool path conversion
              • Axes map for 5-axis machines
        • Adaptive
        • Pocketing strategies
      • Lathe machining
        • Types of lathe machining operations
        • Lathe machining operations
          • Lathe facing
          • OD Roughing and ID Roughing
          • OD Finishing and ID Finishing
          • OD Grooving, ID Grooving and Face grooving
          • OD Threading and ID Threading
          • Profile Threading
          • Lathe part-off
          • Lathe hole machining
          • OD Adaptive turning
          • Part-off with takeover
        • Lathe cycles
          • Profile cycle
          • Offset Roughing
          • Offset cycle (ISO G73)
          • Roughing
          • Roughing cycle
          • Facing
          • Grooving cycle
          • Slotting cycle
          • Thread cycles
            • Standard form thread
            • Threading cycle types
          • Zigzag cycle
          • 4-axis turning
          • Parting-off cycle
          • Peck groving/drillling cycle
        • Operations setup
          • Job assignment of the lathe operations
            • Job assignment element parameters
            • Contour editing modes
          • Cutting conditions of lathe operations
          • Job assignment for hole machining operation
            • Defining holes by coordinates
            • Defining holes by using a geometrical point object
            • Automatic hole recognition
            • Creating hole pattern
      • Mill-turn Machining
        • Lathe-milling machines types
        • Setting-up tooling
        • Positioning of part
        • Tool change position
        • Positioning of tool
        • Obligatory testings before the final generation
        • Counter spindle machining
        • U-axis turning
      • Machining on cutting machines
        • Jet cutting
        • 4D Jet cutting
        • Jet cutting 5D
        • Operations setup
          • Jet cutting job assignment
          • Job assignment of EDM and Jet cutting 4D operations
            • 2D job assignment item properties
            • 4D job assignment item properties
            • Synchronization lines
            • Approaches/returns
            • Bridges
            • Multiselect feature
            • Wire EDM feature
          • Machining conditions of EDM and Jet cutting 4D operations
          • Strategy of EDM and Jet cutting 4D operations
      • Knife cutting
        • Cutting tool - "knife"
        • 2D knife cutting
        • 6D Knife cutting
        • Knife corner retraction
      • Wire EDM machining
        • Wire EDM machining operations
          • Wire EDM 2d Contouring
          • Wire EDM 4d Contouring
          • Wire EDM coreless pocketing
            • Pocketing parameters
            • Wire thread points
        • Operations setup
          • Job assignment of EDM and Jet cutting 4D operations
            • 2D job assignment item properties
            • 4D job assignment item properties
            • Approaches/returns
            • Bridges
            • Multiselect feature
            • Synchronization lines
            • Wire EDM feature
          • Machining conditions of EDM and Jet cutting 4D operations
          • Strategy of EDM and Jet cutting 4D operations
      • Machining on industrial robots
        • Setting the coordinate system of the tool and the workpiece
        • Programming the robot's 6th axis
        • Programming the rails position
        • Programming the rotary table
        • Robot axes map
        • Programming robot's transitions (obsolete method)
          • The planning of the links
      • Multi Task Machining
        • Submachine definition in the machine schemas
        • Swiss lathes programming
        • Automatic insertion of wait labels
      • Move part operations
        • Machine requirements for part moving operations
        • Clamp devices control
        • Pick-and-place
          • Point Pick-and-Place
        • Turn take over
          • Phase synchronization in Turn take over
        • Sub spindle working
        • Bar feeding
      • Welding
        • Point welding
        • Welding 5D and Welding 6D
      • Additive manufacturing
        • Area cladding
        • Curve cladding
        • Cladding 3D
        • Cladding 5D operation
        • Planar slicing
        • Non-planar slicing
        • Direct cladding
      • Disc tool machining
        • Disc tool
        • Disc cutting 2D
        • Disc cutting 6D
        • Disc roughing
      • Probing
        • Creating own probing cycles (templates)
        • Types of measuring cycles
        • Use of prepared measuring cycles
        • Probing templates window
      • Spray painting
      • Legacy operations
        • 2.5D chamfer machining operation
        • 2.5D cover machining operation
        • 2.5D pocketing operation
        • 2.5D wall machining operation
        • Combined operation (waterline-drive)
        • Drive finishing operation
        • Drive roughing operation
        • Saw operation
        • Finishing plane
        • Optimized plane
        • Complex
    • Simulation
      • Tool path motion
        • The structure of the tool path
        • The list of the basic CL-data commands
        • The selection of the CL-data commands from the graphical view
        • Tool path editing
        • Tool path spatial transformations
      • Controlling simulation process
        • Tool motion controlling
        • Tool path errors detected by simulation
        • Feed rates optimization
        • Assigning workpiece parameters
        • Turbo simulation mode
        • Export simulation result as model
        • Delete chips function
      • Simulation of machining by NC program
        • G-code based program simulation
        • Creating your own interpreter
      • Painting simulation
      • Solid Simulation
    • Machining tool features
      • Tools window
        • Manage libraries
        • Milling tool editing
        • Turn tool editing
        • Mill holder selection window
      • Project tool list
      • Creating shaped tools
      • Holders (*.osd) window
      • Machining tools import API
      • Tool assemblies
        • Adapting a machine for advanced tools mode.
        • Component libraries
        • Building a tool assembly
    • Extension and integration possibilities
      • Scripts in ENCY
        • Brief Scripts in ENCY
        • Scripts IDE
        • Application Programming Interface
        • Scripted operation
        • Operation with scripted events
        • Scripted ENCY launch
      • PLMIntegrations
        • Authorizing an External System in the CAM Main Window
        • Importing a Geometry Model from an External System
        • Installing and Configuring PLM Integration Modules
        • Loading and Saving Machines to an External System
        • Loading and Saving Postprocessors to an External System
        • Loading and Saving Tools to an External System
        • Opening and Saving Projects to an External System
      • Extensions of the CAM system
        • Installing extensions from a file
        • Installing extensions using the command line
      • Macro
        • Recording a macro
        • Editing steps
        • Saving a macro
        • Running a macro
        • Editing the code
      • Extension Store
    • Program's licensed modules
      • Adaptive
      • Robot +
      • Robot Mill
      • Advanced multi axis control
      • Operations
        • Sawing
        • 5D cutting
        • Welding
        • Cladding
        • Knife
        • G-code based, G-code based lathe
          • Job assignment for G-code based operation, G-code based lathe operation
            • Keyboard shortcuts for working with NC text
          • Rapid feed
      • Operations which requires adaptation
        • Heat Treatment
        • Welding
        • Cladding
        • Jet Cutting
      • Teamcenter Integration Module
    • Appendix
      • Operations matrix
      • CAM system features matrix
      • List of interpreters
      • Getting trial license
      • Bug report best practice
      • Troubleshooting with authorization in the license manager
      • Additional software and installation changes

    Design in 2D mode

    images/download/attachments/157860785/image2025-5-19_15-46-49.png

    Application area:

    This mode allows you to create drawings.

    Defining planes for drawing creation was covered in the next chapter. Details

    Toolbar/Element properties.

    Click here to expand..

    Undo. Reverses the last action.

    Redo. Reapplies the last undone action.

    Sketch. Allows you to exit a drawing or create a drawing

    Point. Add points to the sketch
    images/download/attachments/157860785/image2025-5-20_8-51-14.png

    Coordinates: Enter the coordinates of the point separated with [space].

    Split Contour. Allows you to split a curve into two

    Hot keys:

    RMB: Exit.

    Contour. Draw a contour with lines and arcs Click to add the next line or tangent arc.
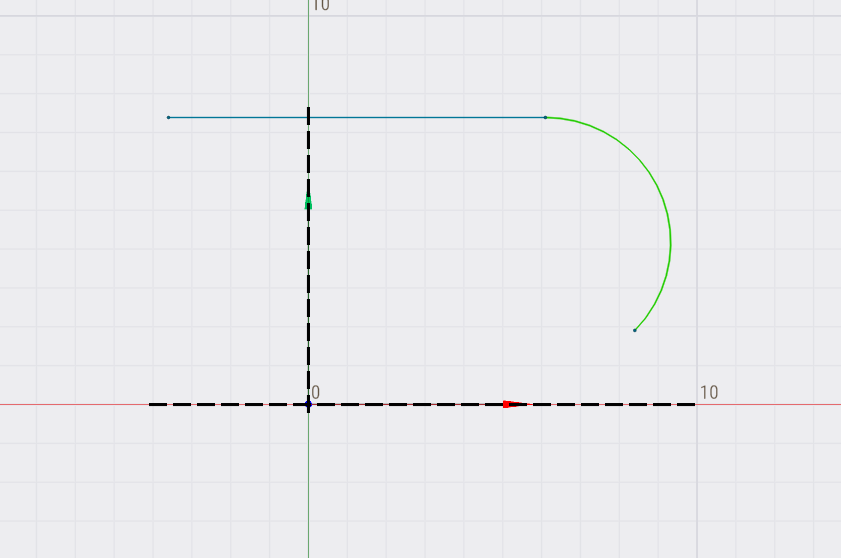
    images/download/attachments/157860785/image2025-5-20_8-51-38.png

    Coordinates: Enter the coordinates of the point separated with [space].

    Click here to expand..

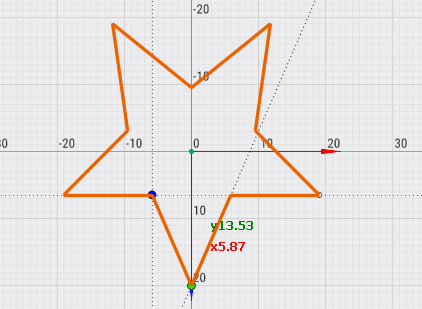
    You can use a star as an example.

    1.You need to copy this table to the clipboard 2. Enter the data in the appropriate field 3.Press enter

    X Y
    0 20
    5,87 6,47
    19,02 6,47
    9,51 -3,09
    11,75 -19,02
    0 -9,51
    -11,75 -19,02
    -9,51 -3,09
    -19,02 6,47
    -5,87 6,47

    images/download/attachments/157860785/image2025-5-26_11-44-22.png

    Hot keys:

    Space: Hit Space to switch between drawing lines and arcs.

    Shift: Hold Shift and click on an arc or a circle to make the line tangent to it.

    Trim a contour Hold and drag the left mouse button to trim out a piece of a contour.

    RMB: Exit.

    Arc by two points. Draw an arc connecting two points.

    1. Click the first point of the arc.

    2. Click the second point of the arc.

    3. Either click the third point on the arc or enter the radius of the arc in the Radius field.
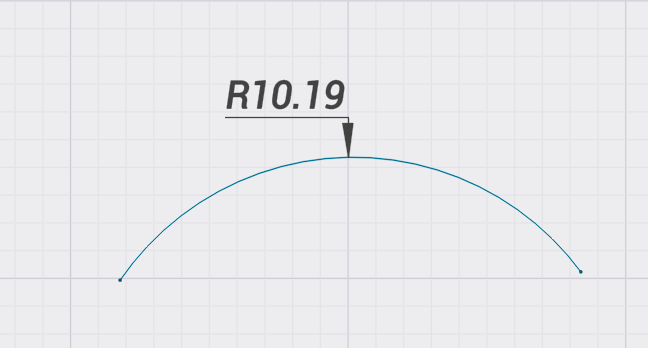
    images/download/attachments/157860785/image2025-5-20_8-52-8.png

    Radius. Predict the radius between two points.

    Start point. Allows you to specify point by coordinates.

    End point. Allows you to specify point by coordinates.

    Hot keys:

    Shift: Hold Shift and click on an arc or a line to make the arc tangent to it.

    RMB: Exit.

    Arc from center. Draw an arc starting with the center point

    1. Click the center point of the arc. 2. Click the first point of the arc. 3. Click the second point of the arc.
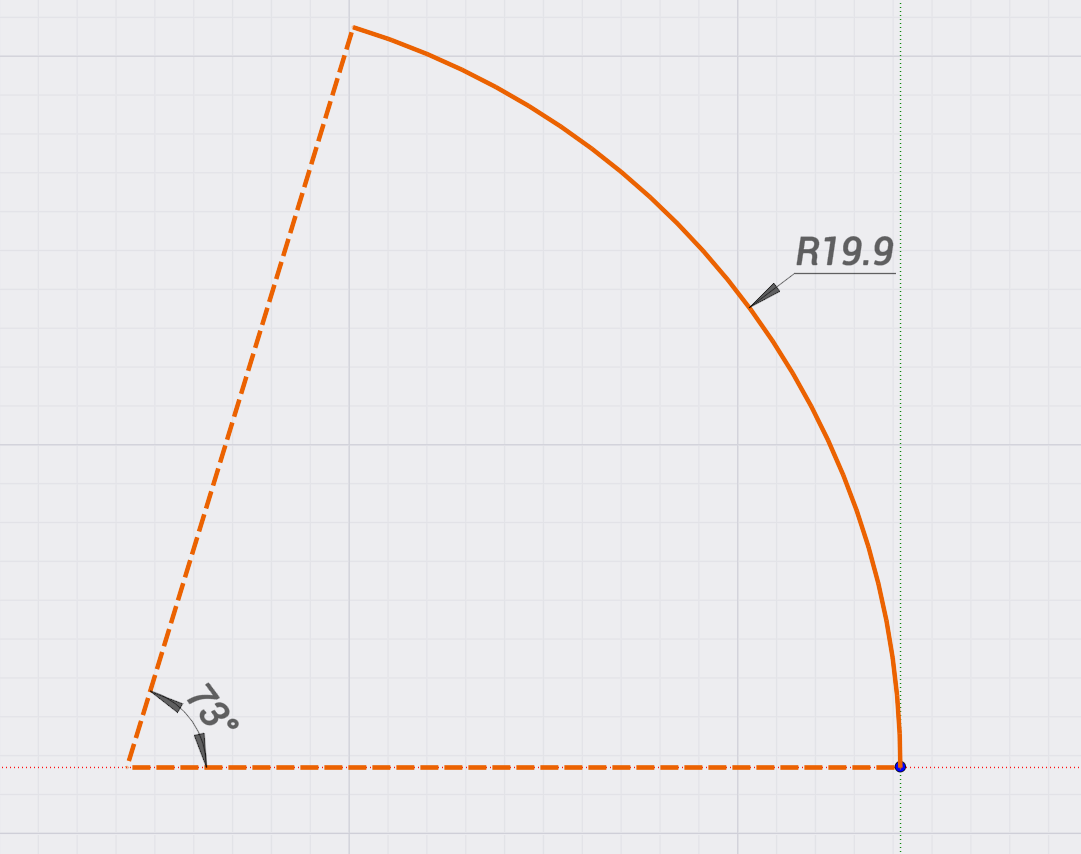
    images/download/attachments/157860785/image2025-5-20_8-52-29.png

    Hot keys:

    RMB: Exit.

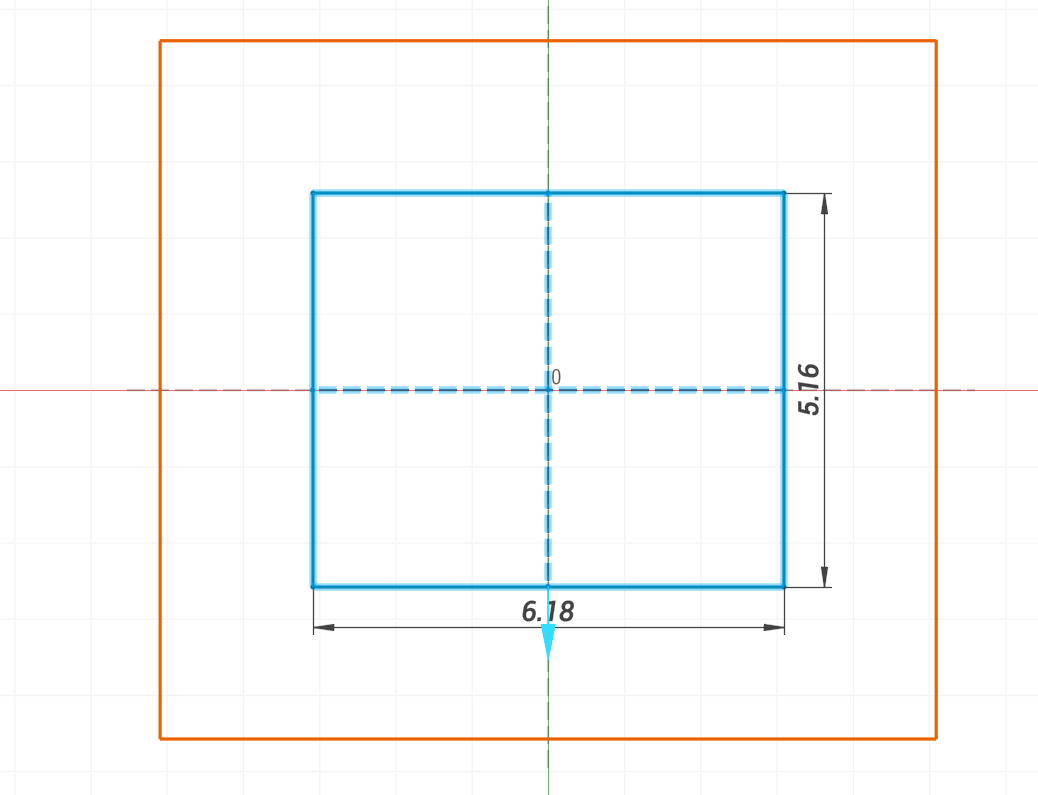
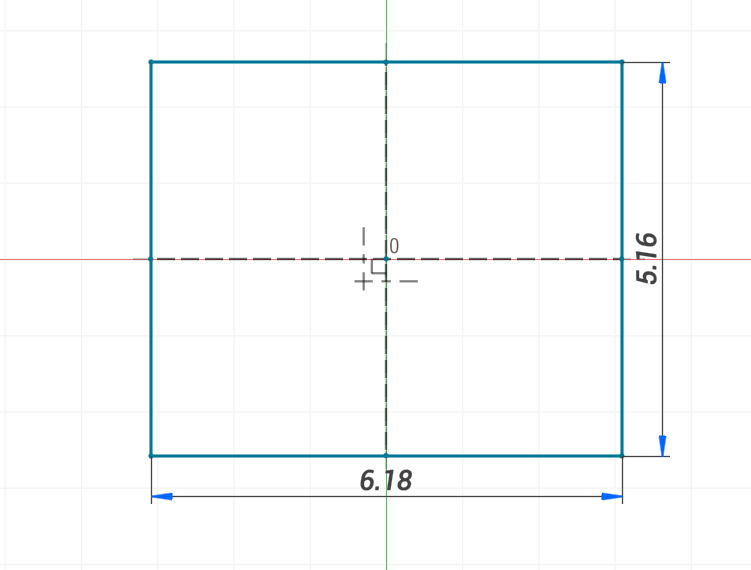
    Rectangle by 2 points. Draw a rectangle between two diagonal points

    1. Click the first corner point of the rectangle. 2. Either Click the second corner point or enter the dimensions of the rectangle in the field above.
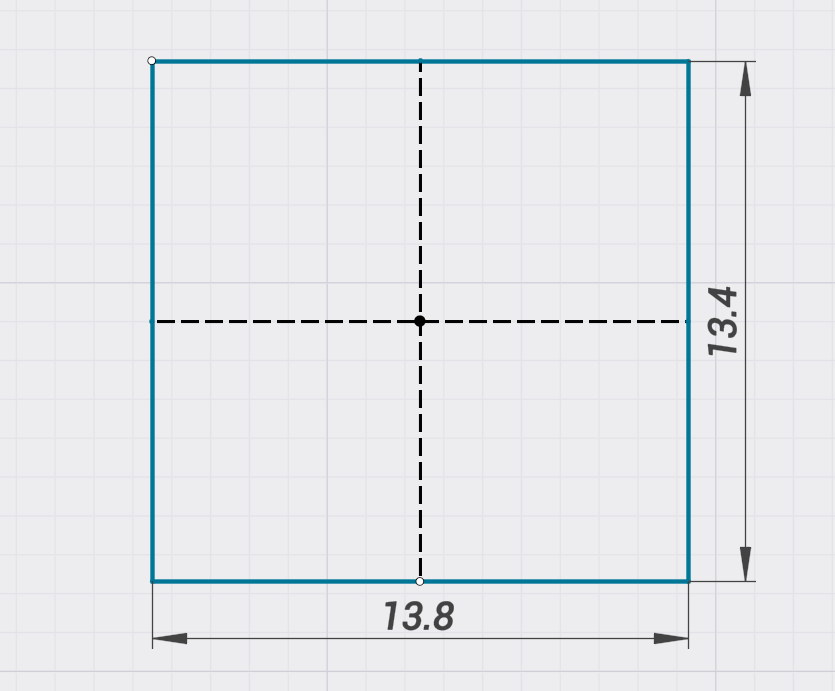
    images/download/attachments/157860785/image2025-5-20_8-52-45.png

    Dimension. Enter only one dimension to make it a square. (Example 67.5 67)

    Start point. Allows you to specify point by coordinates.

    Hot keys:

    RMB: Exit.

    Rectangle from center. Draw a rectangle from the center point.

    1. Click the center point of the rectangle. 2. Either click the corner point or enter the dimensions of the rectangle in the field above.
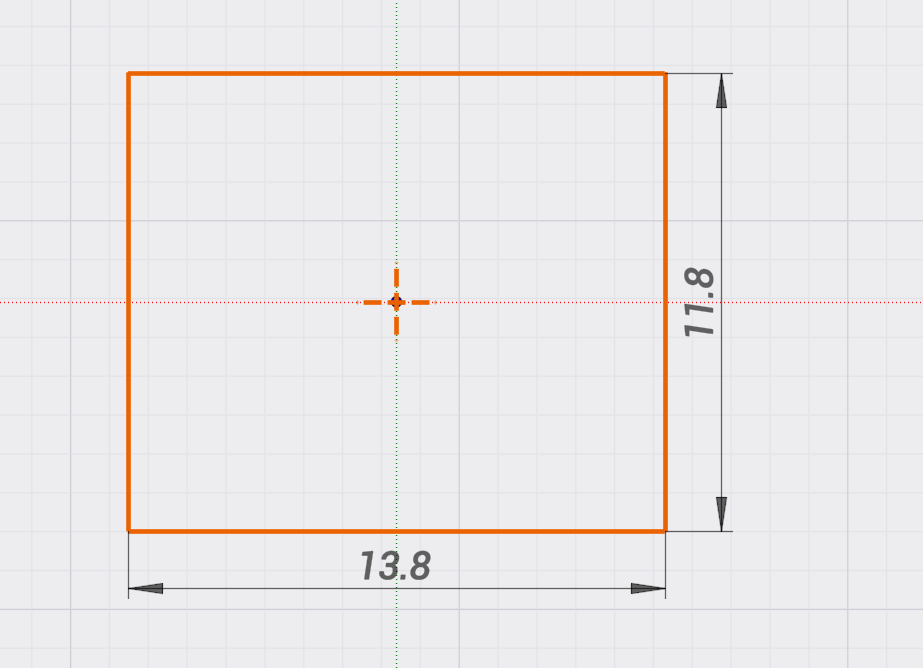
    images/download/attachments/157860785/image2025-5-20_8-53-3.png

    Dimension. Enter only one dimension to make it a square. (Example 67.5 67)

    Center point. Allows you to specify point by coordinates.

    Hot keys:

    RMB: Exit.

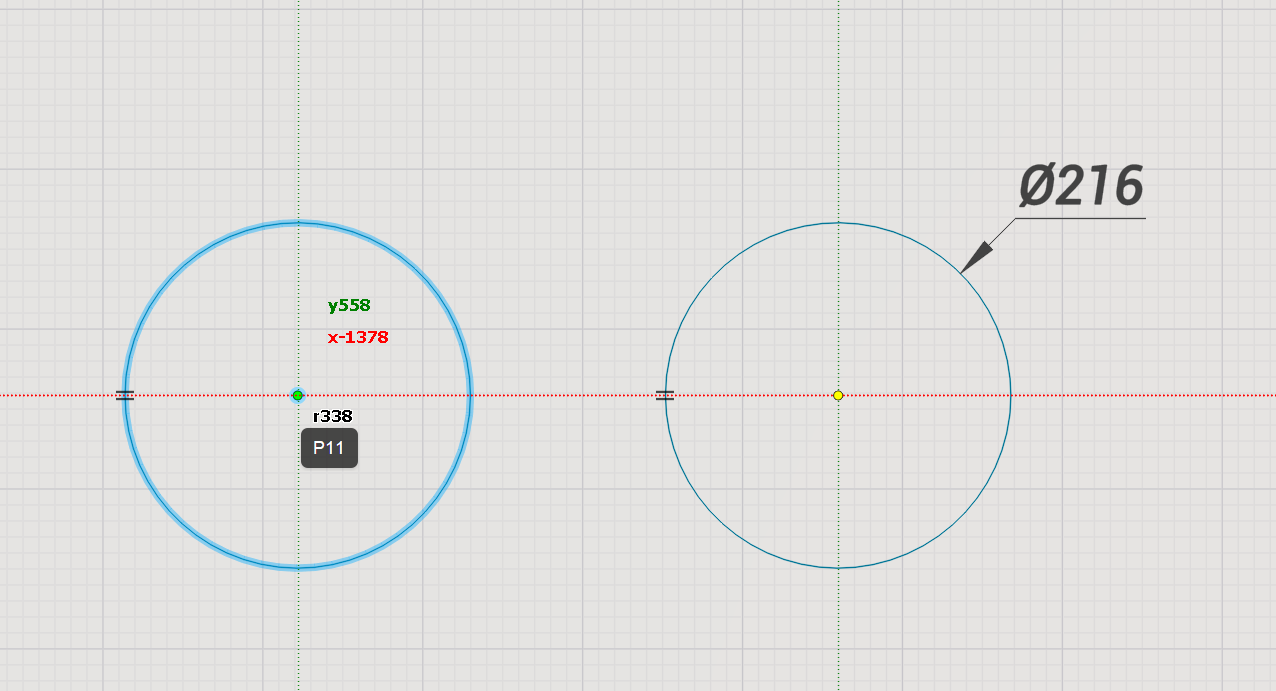
    Circle. Draw a circle starting from the center

    1. Click the center point of the circle.

    2. Click a point on the circle, or enter the size of the circle in the field above.
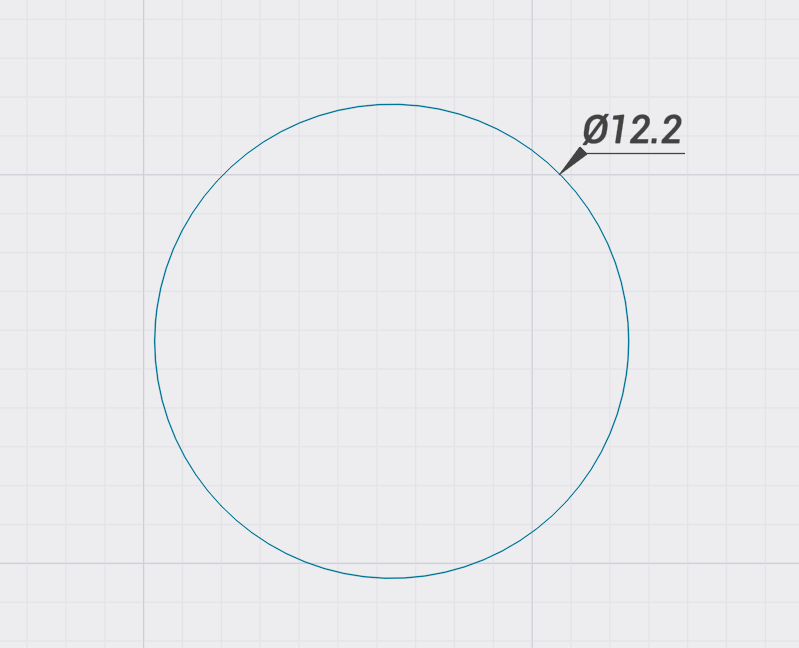
    images/download/attachments/157860785/image2025-5-20_8-53-20.png

    Diameter. Determines the diameter of a circle.

    Center point. Allows you to specify point by coordinates.

    Hot keys:

    Hold Shift and click on a segment to make the circle tangent to the segment.

    Hold Ctrl to create multiple circles with the same diameter.

    Draw a circle tangent to another geometry

    Hold Shift and click on lines, arcs, circles or points to draw a circle tangent to those entities.

    Enter the size of the circle in the field above when needed.

    RMB: Exit.

    Slot linear. Draw a straight slot between two points

    1. Click the first point of the slot.

    2. Click the second point of the slot.

    3. Click the periferal point of the slot to define the slot width.
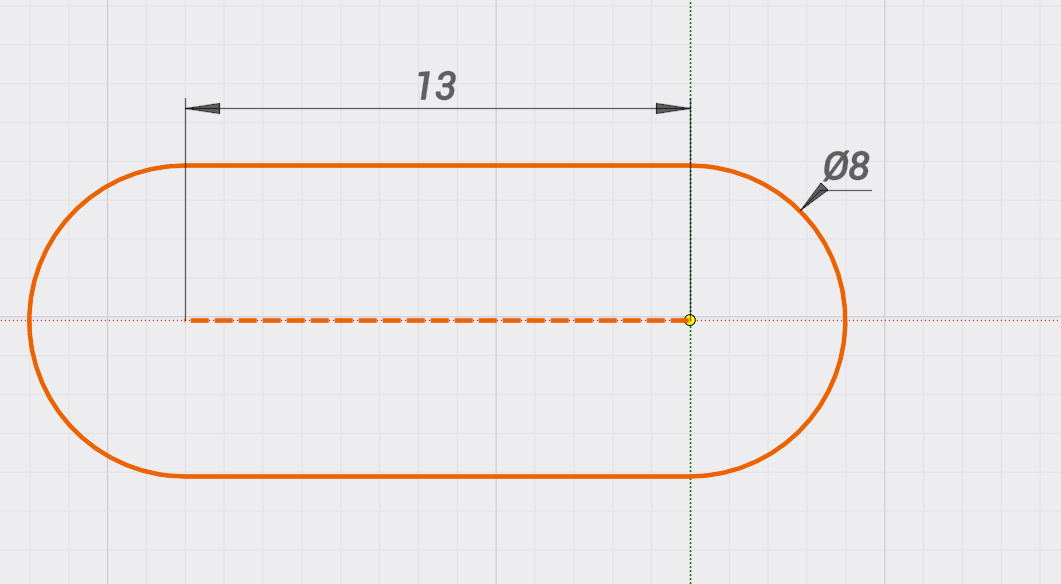
    images/download/attachments/157860785/image2025-5-20_8-53-42.png

    Hot keys:

    RMB: Exit.

    Slot circular. Draw a circular slot from the center point

    1. Click the center point of the slot arc.

    2. Click the first point of the slot arc.

    3. Click the second point of the slot arc.
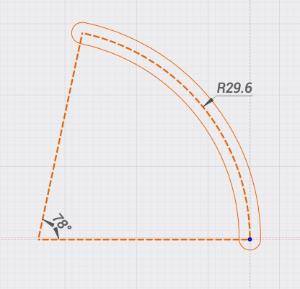
    images/download/thumbnails/157860785/image2025-5-20_8-55-42.png

    Hot keys:

    RMB: Exit.

    Offset. Allows you to set the offset of the selected element.

    Left. Allows you to set an offset to the left of the contour

    Right. Allows you to set an offset to the right of the contour

    Both sides. Allows you to set an offset to the left and right of the contour

    Distance. The distance by which the contour must be shifted

    Roll Corners. Allows you to round off the corners of an offset contour
    images/download/attachments/157860785/image2025-5-20_8-58-42.png images/download/attachments/157860785/image2025-5-20_8-59-8.png

    Hot keys:

    Select the contour and press Ctrl to drag in the desired direction.

    RMB: Exit.

    Polygon. Draw a polygon starting with the center point

    1. Specify the number of sides of the polygon in the field above.

    2. Click the center point of the polygon.

    3. Click the peripheral point of the polygon.
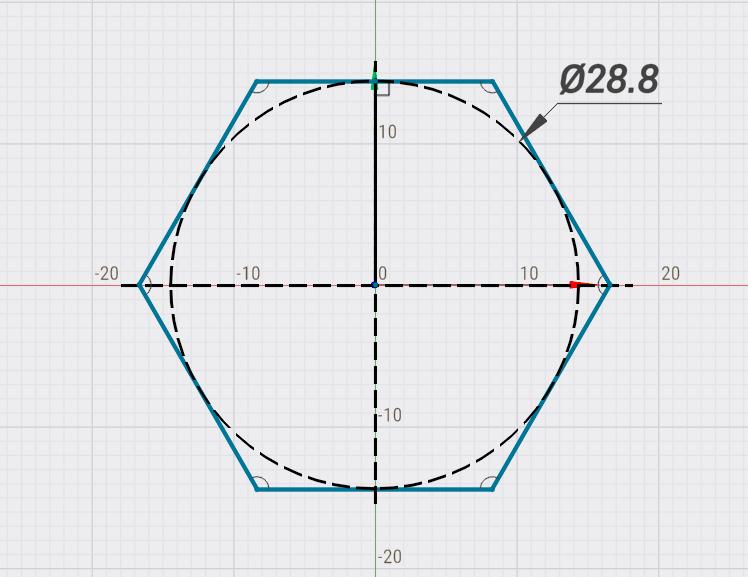
    images/download/attachments/157860785/image2025-5-20_9-13-17.png

    Second point on the side. The second point is located on the side

    Second point in the corner. The second point is located in the corner

    Number of sides. Defines the number of sides

    Hot keys:

    RMB: Exit.

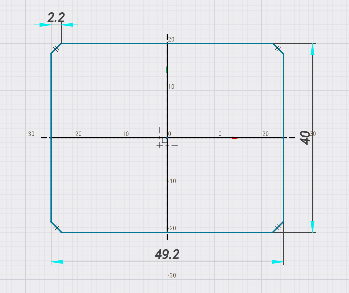
    Rounding/Chamfer. Create sketch roundings and chamfers.

    Hover the mouse over the sketch entities where you want to insert the feature and click.
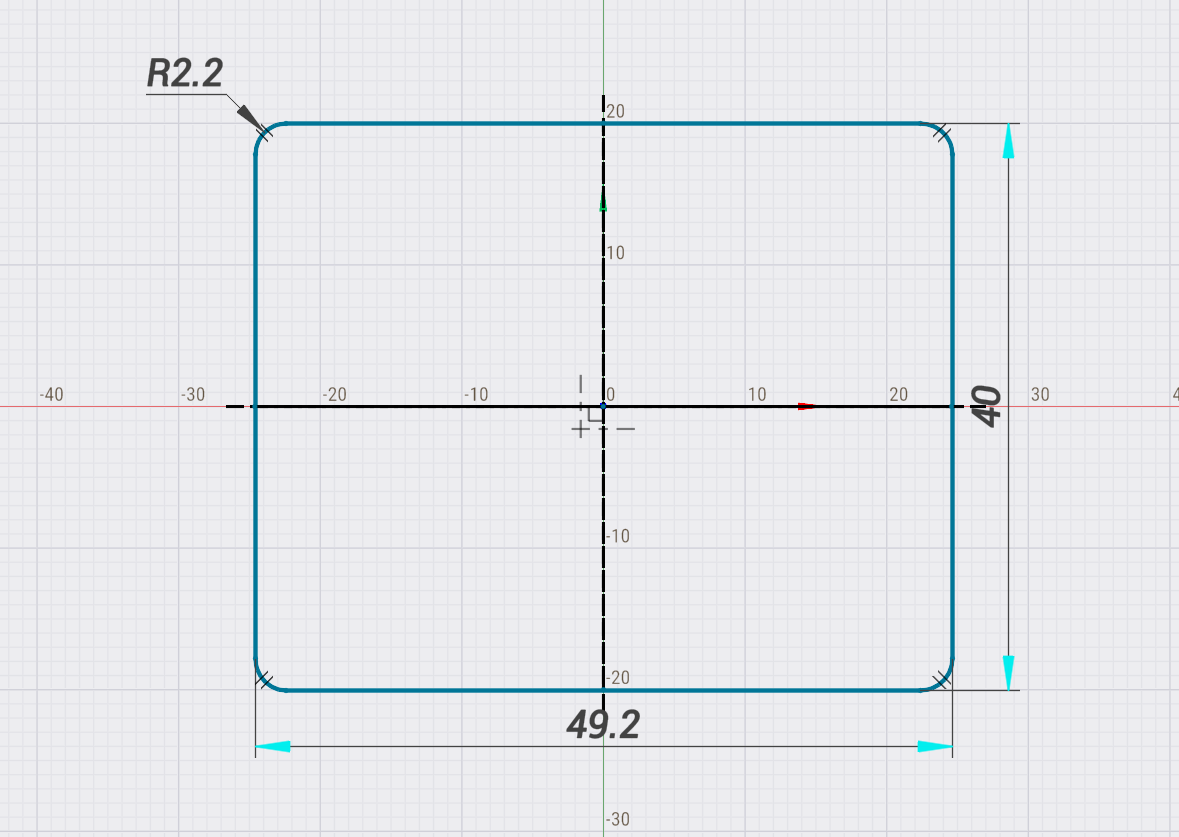
    images/download/attachments/157860785/image2025-5-20_9-20-27.png images/download/thumbnails/157860785/image2025-5-20_9-20-52.png

    Radius/Size. Defines the size of an element

    Hot keys:

    Press Space to toggle between rounding and chamfering.

    Rotate the mouse wheel while holding [Ctrl] to increase/decrease the feature size.

    RMB: Exit.

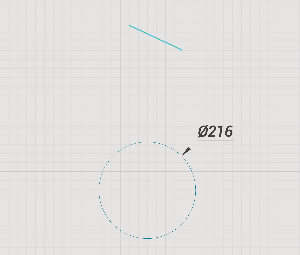
    Import object. Import reference geometry into the sketch

    Click on a face, curve or an edge to project it into the sketch. The imported entities are marked with color.

    Remove reference geometry from the sketch Click on the imported entity to remove it from the sketch.
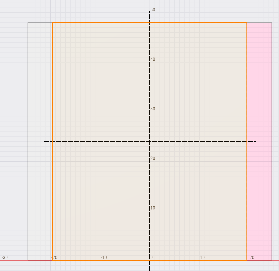
    images/download/thumbnails/157860785/image2025-5-20_9-26-0.png images/download/thumbnails/157860785/image2025-5-20_9-25-50.png

    Hot keys:

    RMB: Exit.

    Trim. Trim out a piece of a contour.

    Hover the mouse over the entities you want to trim and click. The entities to be removed will be highlighted.

    Note: The tool is used to trim entities that intersect with other entities. If you want to delete noninteresecting entities use [Del] instead.
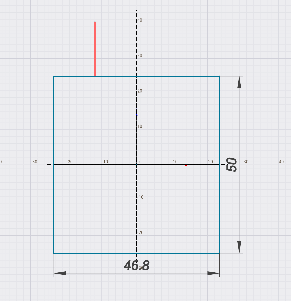
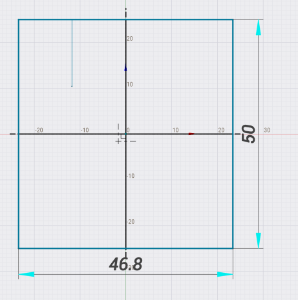
    images/download/thumbnails/157860785/image2025-5-20_9-28-39.png images/download/thumbnails/157860785/image2025-5-20_9-28-51.png

    Hot keys:

    RMB: Exit.

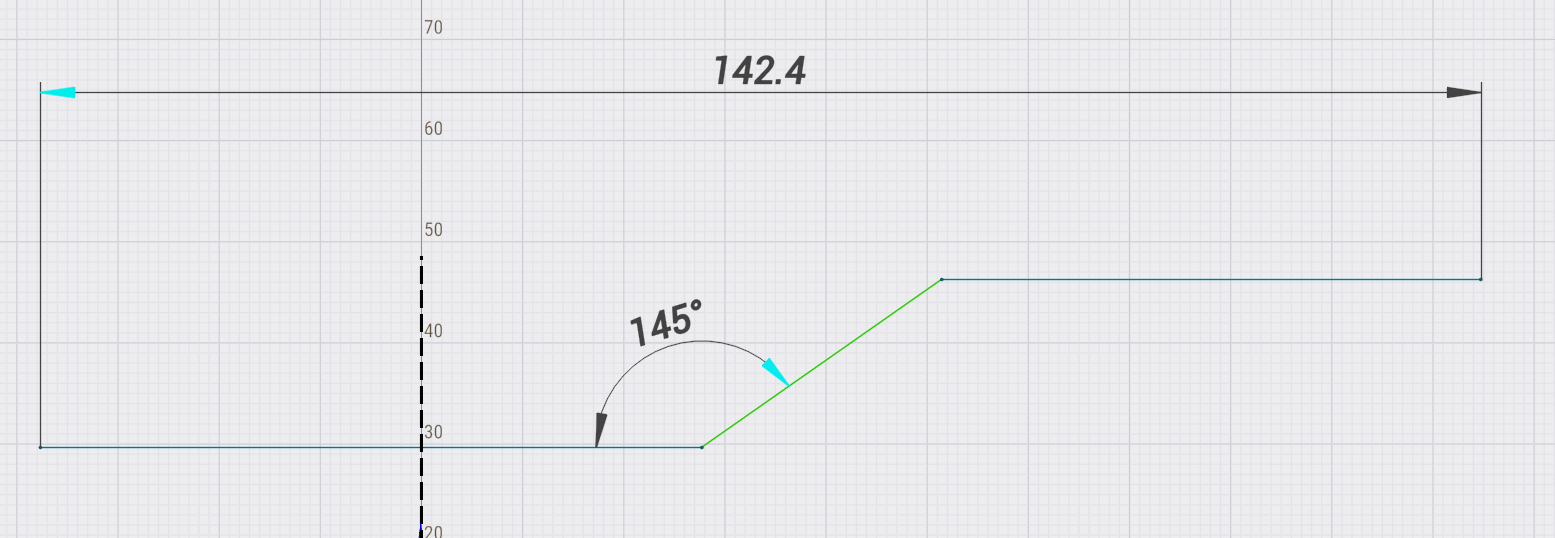
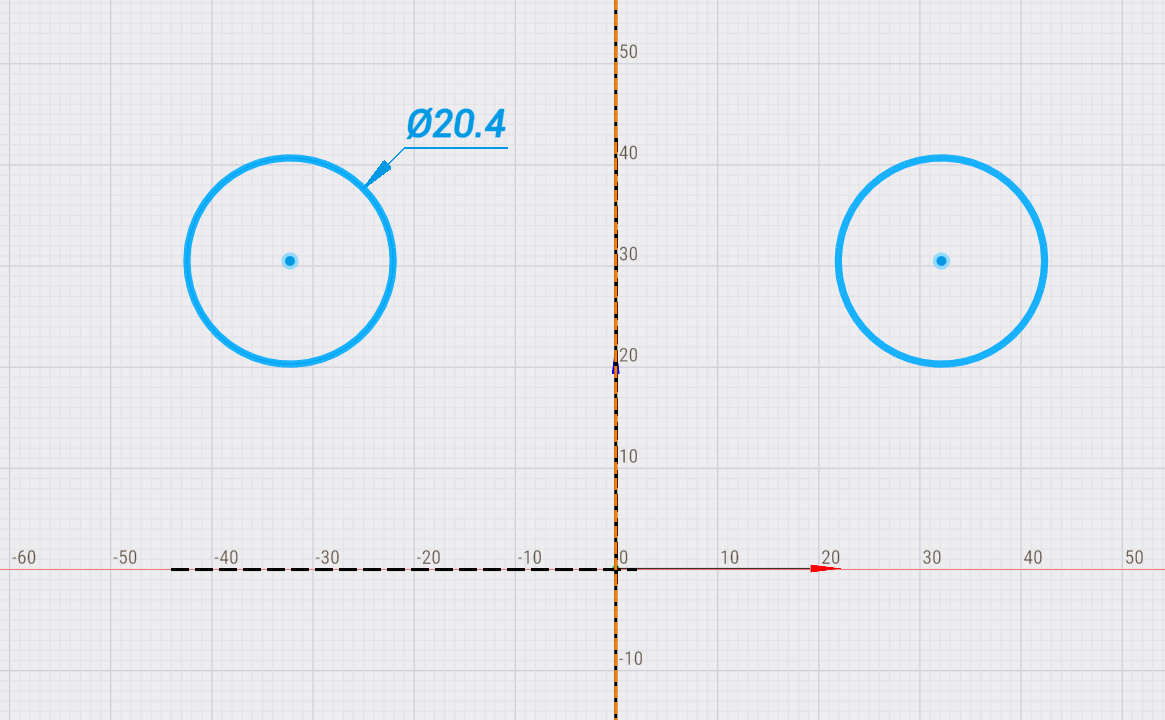
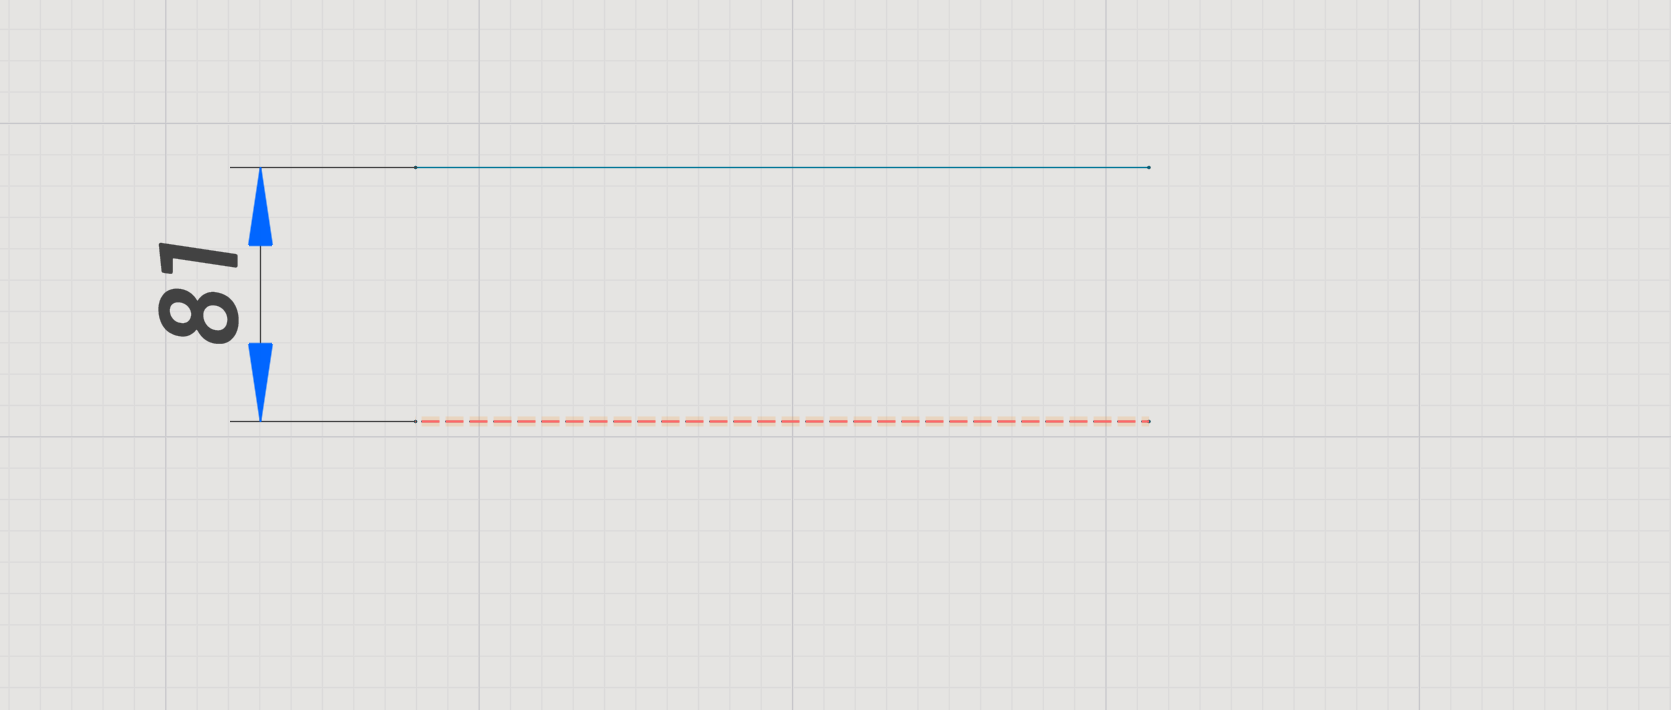
    Dimension. Add dimensions to the sketch.

    Select one or two geometry entities with the mouse to add a dimension. The type of the dimension will be determined automatically based on the type of the selected entities.

    You can add linear, radial, diametral or angular dimensions this way.
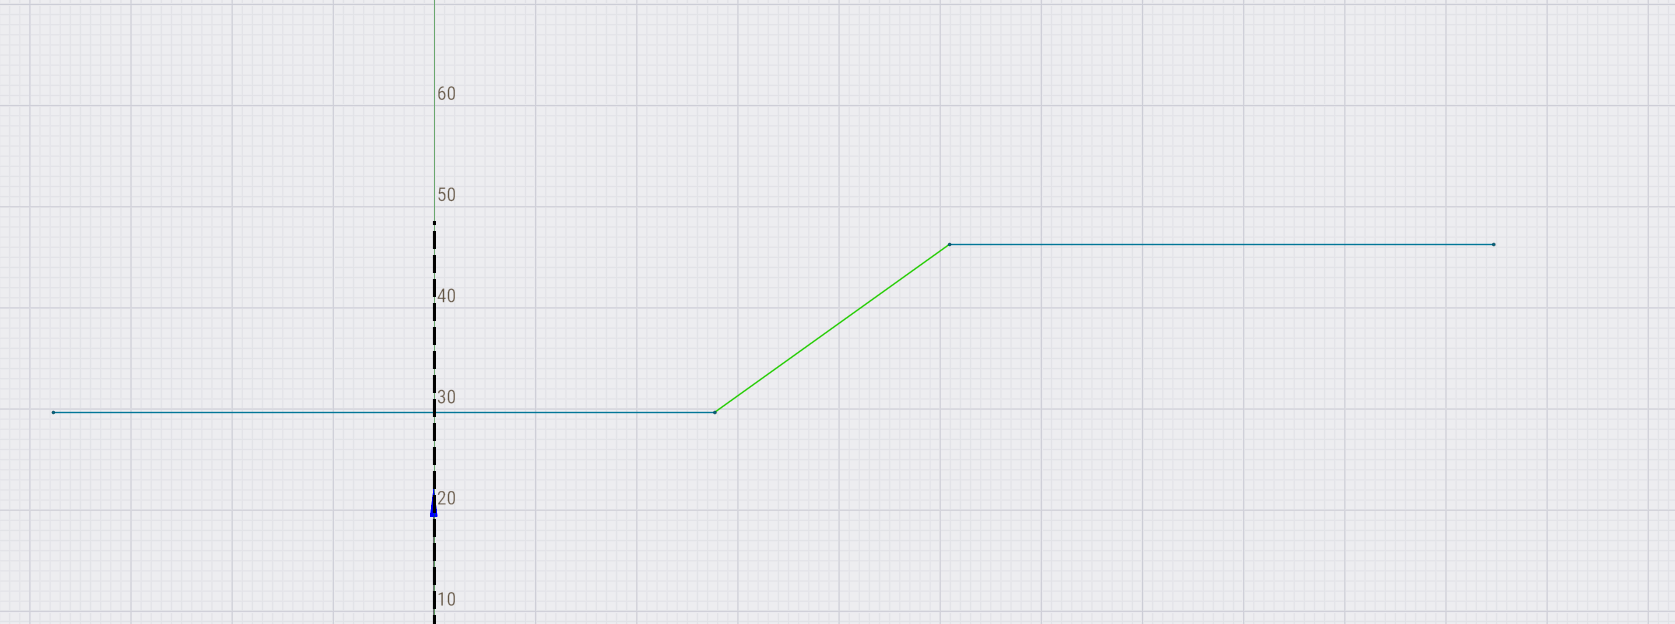
    images/download/attachments/157860785/image2025-5-20_9-30-41.png images/download/attachments/157860785/image2025-5-20_9-31-8.png

    Hot keys:

    RMB: Exit.

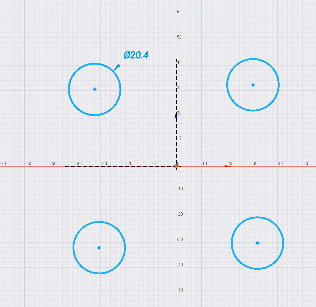
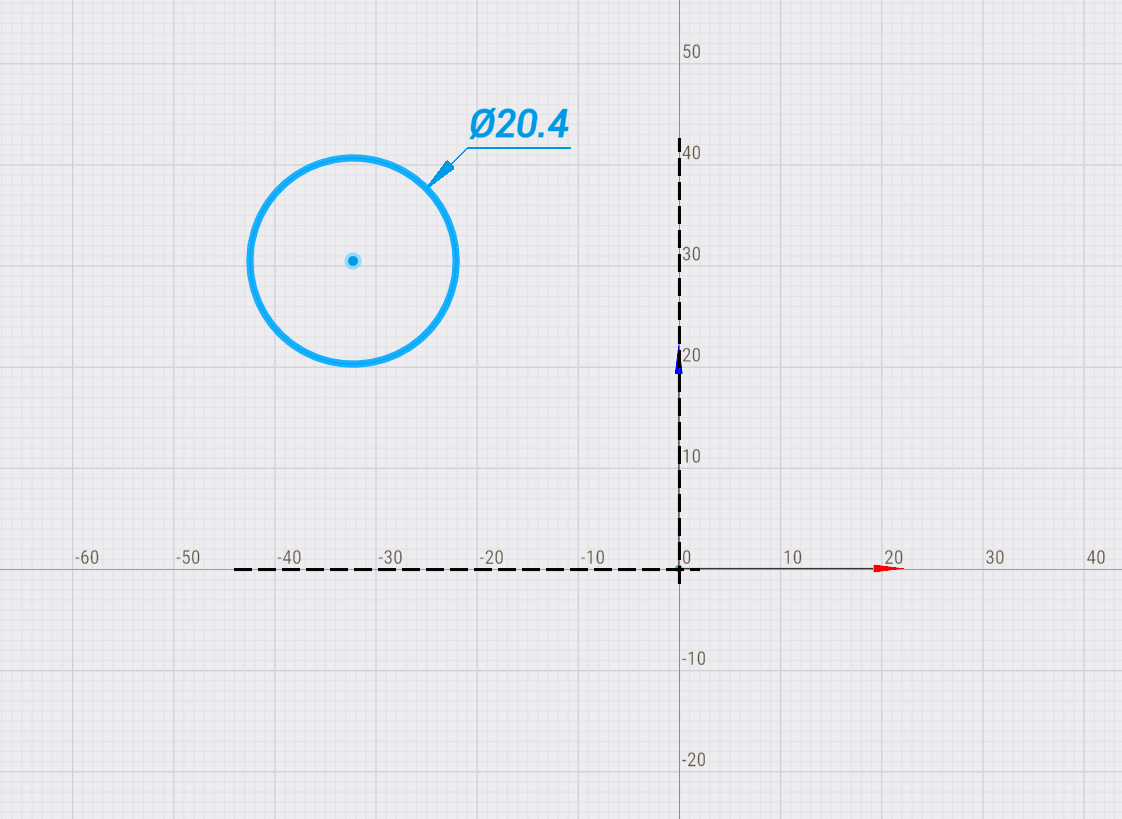
    Mirror. Mirror selected sketch entities.

    Select a line of the sketch with mouse as the symmetry axis.
    images/download/attachments/157860785/image2025-5-20_9-32-27.png images/download/attachments/157860785/image2025-5-20_9-32-34.png

    Hot keys:

    RMB: Exit.

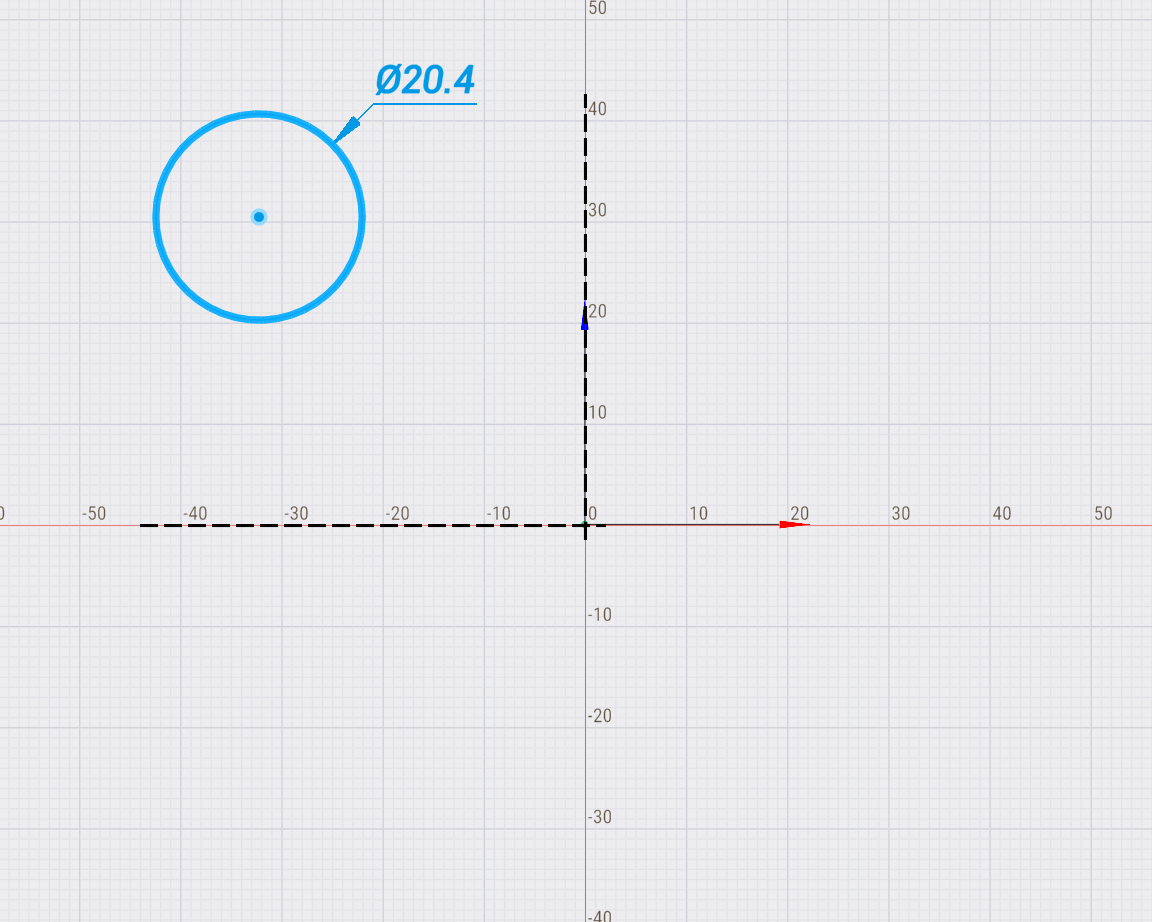
    Circular pattern. Create a circular pattern of the selected entities

    1. Enter the number of copies in the field above.

    2. Select a point of the sketch to define the center point of the pattern.
    images/download/attachments/157860785/image2025-5-20_9-34-4.png images/download/thumbnails/157860785/image2025-5-20_9-34-11.png

    Number of copies. Specifies the number of elements to copy.

    Hot keys:

    RMB: Exit.

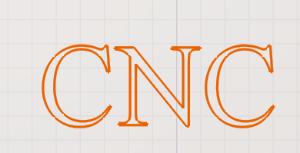
    Text. Allows you to create custom text.
    images/download/thumbnails/157860785/image2025-5-21_14-13-16.png

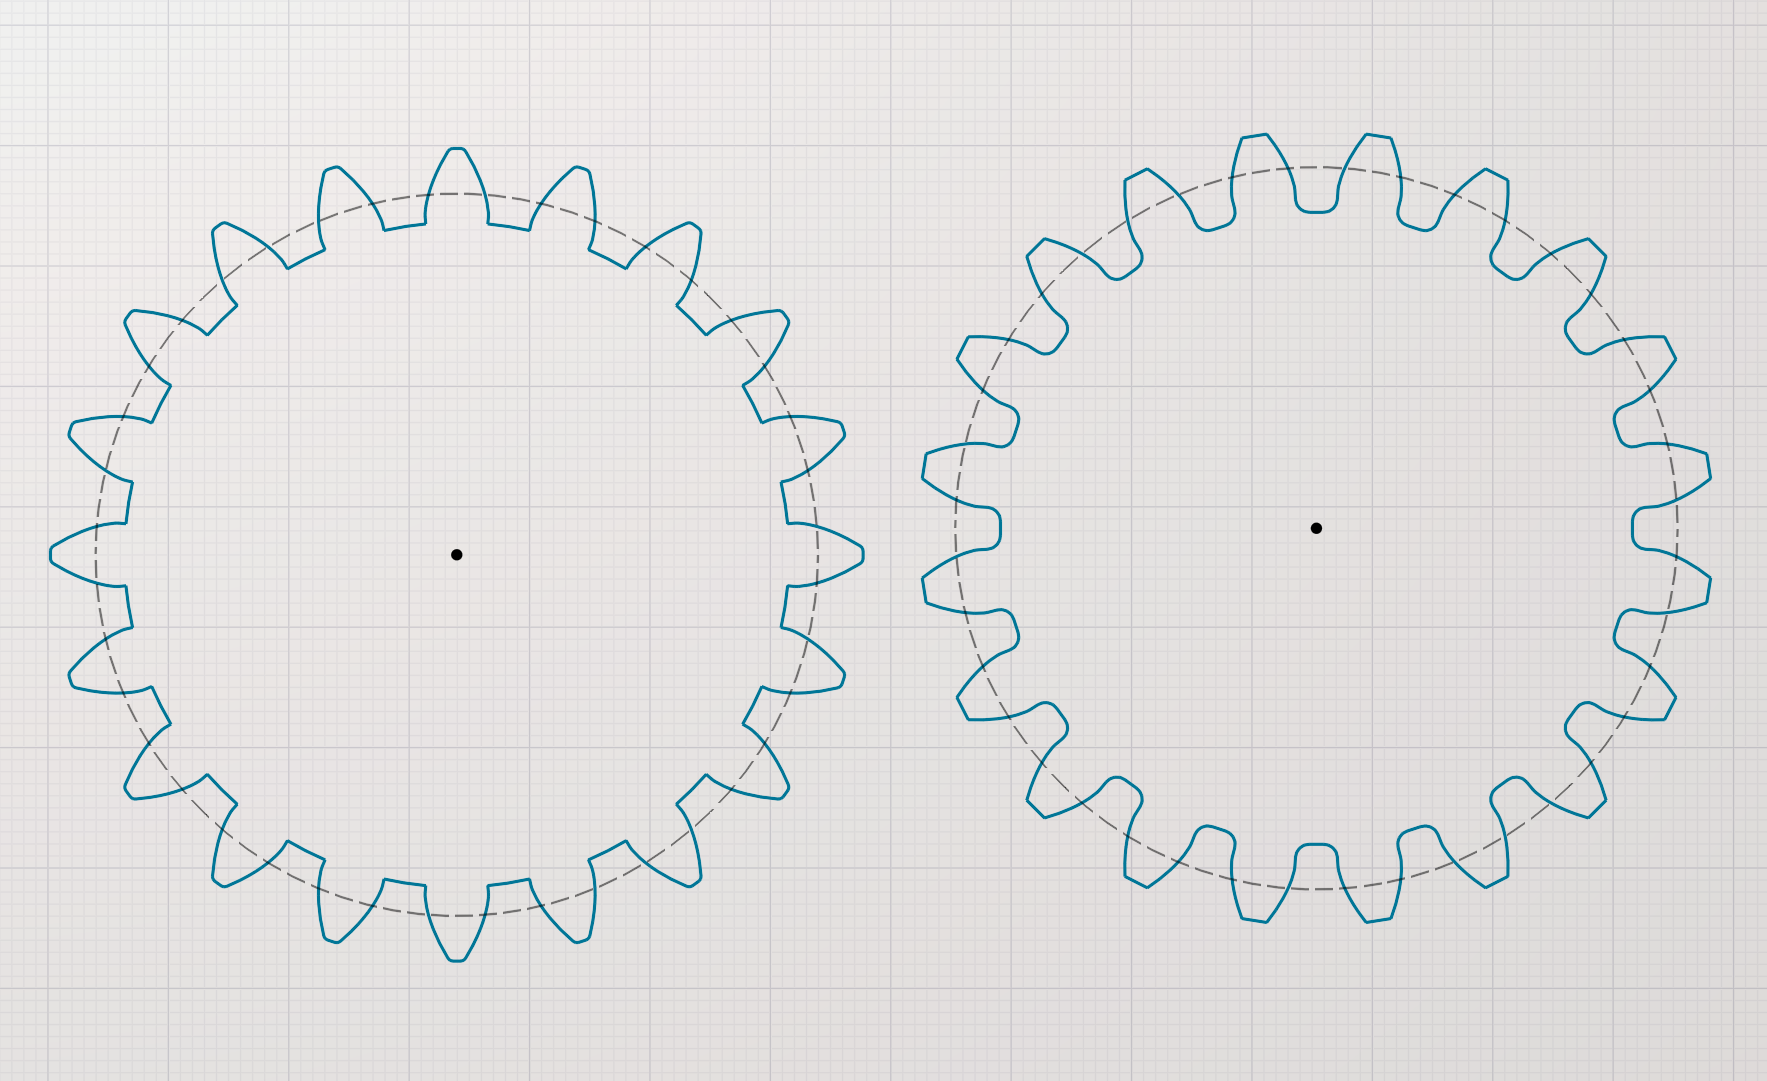
    Helixal gear. Allows you to build a gear profile

    Helic angle. Angle setting for choosing between a spur or helical gear in the 3D model.
    images/download/attachments/157860785/image2025-5-21_14-14-16.png

    Mill profile. Allows you to build a cutter profile
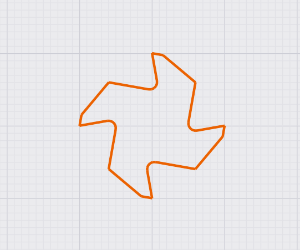
    images/download/thumbnails/157860785/image2025-5-21_14-15-10.png

    Insert decal image. Allows you to insert an image to outline it

    Load. Allows you to download a drawing in *.gsf format

    Save. Allows you to save the drawing in *.gsf format

    Features of working with drawings.

    Click here to expand..

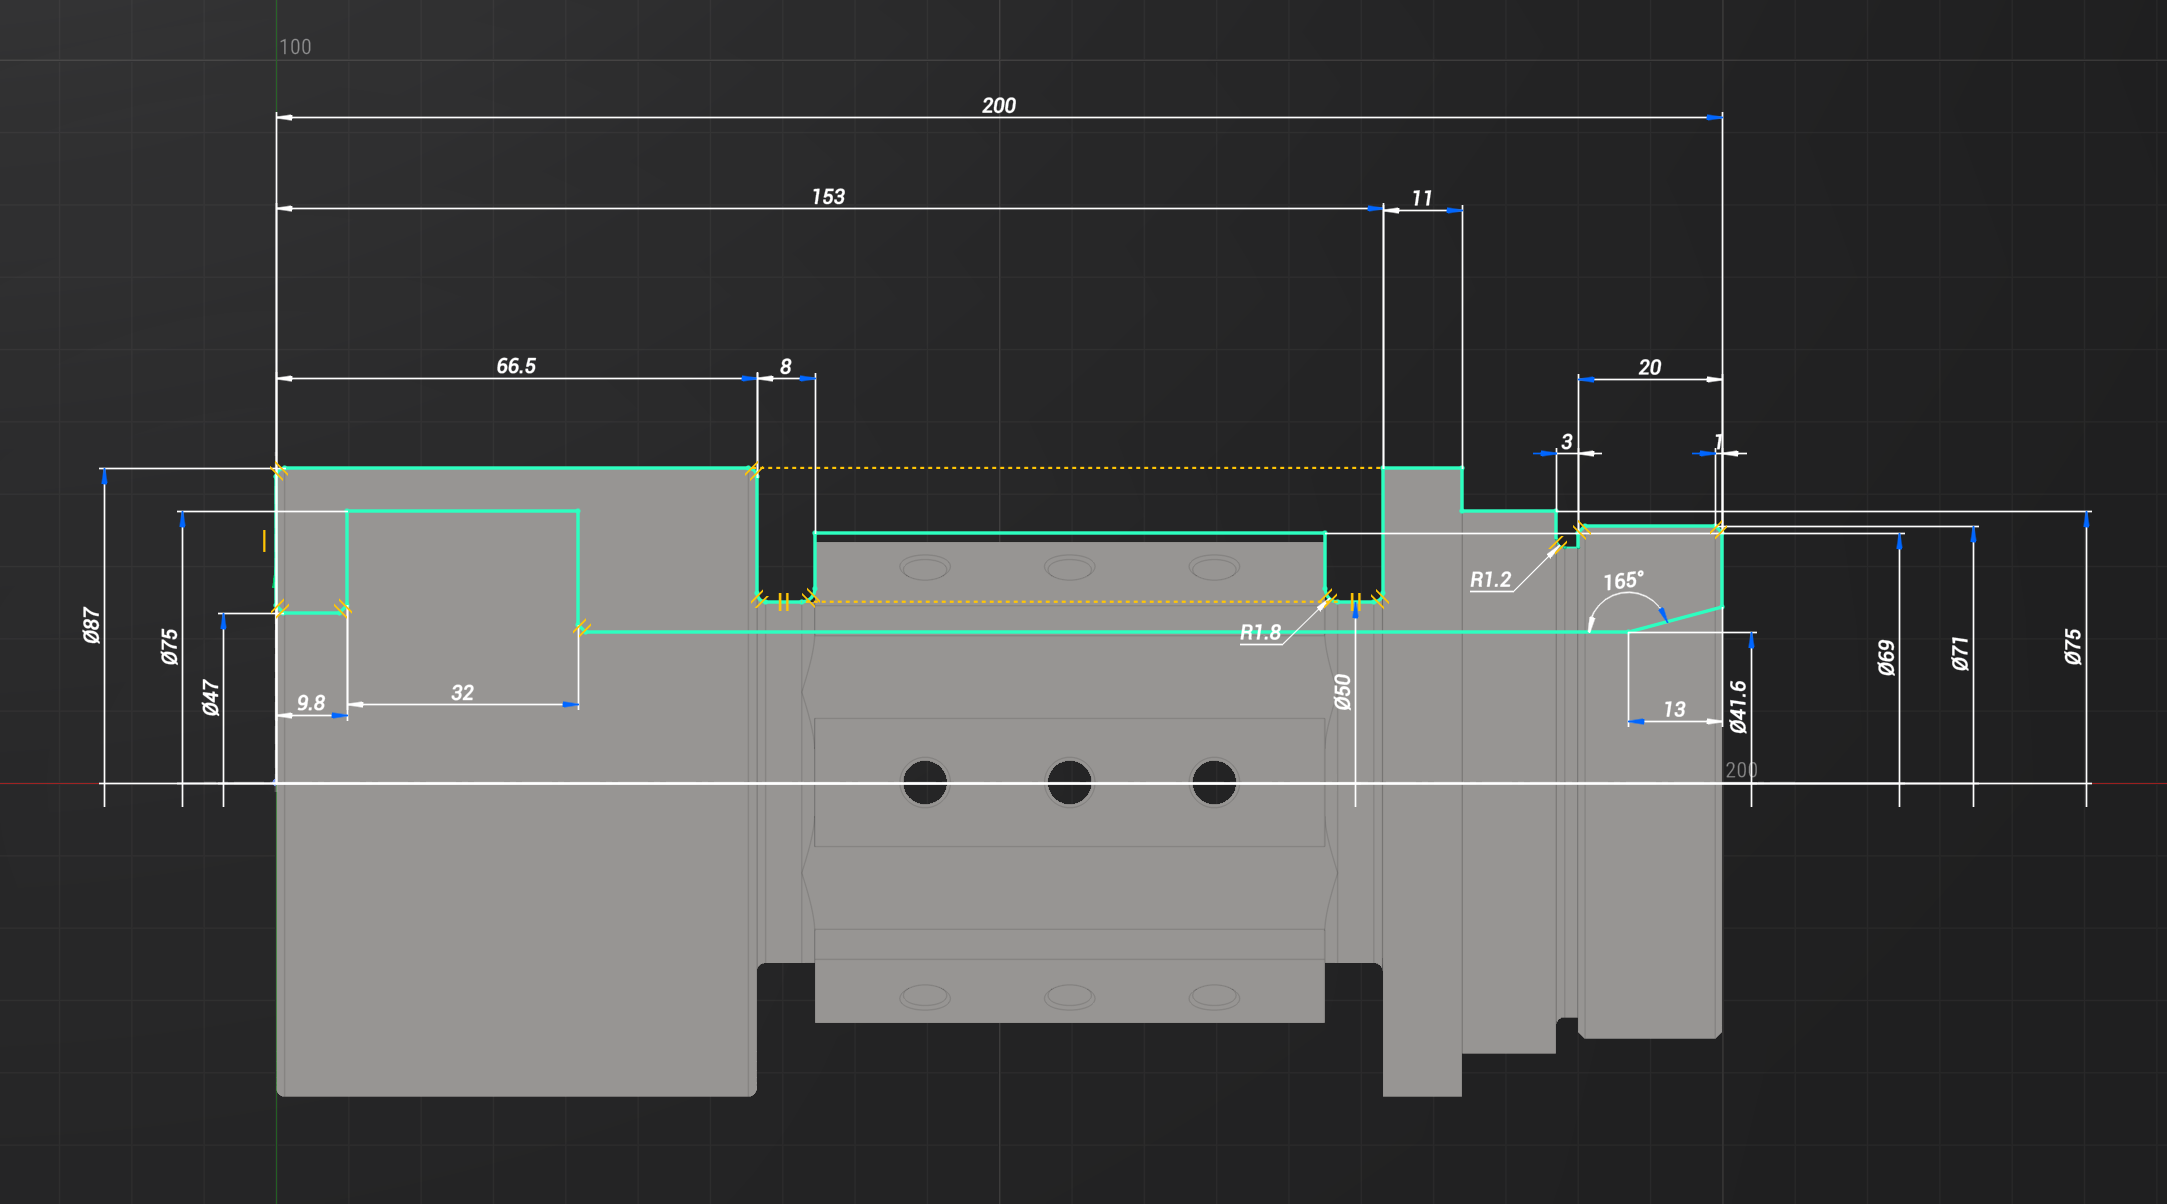
    When working in the drawing mode and selecting curves (Left or right mouse button), various settings are possible (changing the line type, restrictions, etc.)

    In drawing mode, you can select 3 main lines:

    • Main - Used for drawing a part and its visible sides.

    images/download/thumbnails/157860785/image2025-5-21_14-11-12.png

    • Construction - Image of invisible outlines of an object

    images/download/thumbnails/157860785/image2025-5-21_14-11-39.png

    • Center line - Designation of axial lines and center lines of circles

    images/download/attachments/157860785/image2025-5-21_14-12-3.png

    Lock position. Allows you to enter restrictions (angle, size, etc.) The object does not move in space

    Lock agle. Allows you to limit the angle of an element

    Make horizontal. Allows you to make the curve horizontal. The curve can be part of the contour

    Center lines. Allows you to set the centerlines of a circle/radius

    Dimension. Allows you to set the dimensions. As a rule, the size is set from the 0 point of the drawing to the element.

    Defeature. Allows you to exclude an element (for compound figures, contours, etc.)

    When selecting multiple elements (for example 2 segments), the following restrictions are available:

    The restriction can be removed by selecting the restriction sign and pressing the DEL key.

    Equal. Introduces a length limit (two segments become equal). They are denoted by the equal sign. T
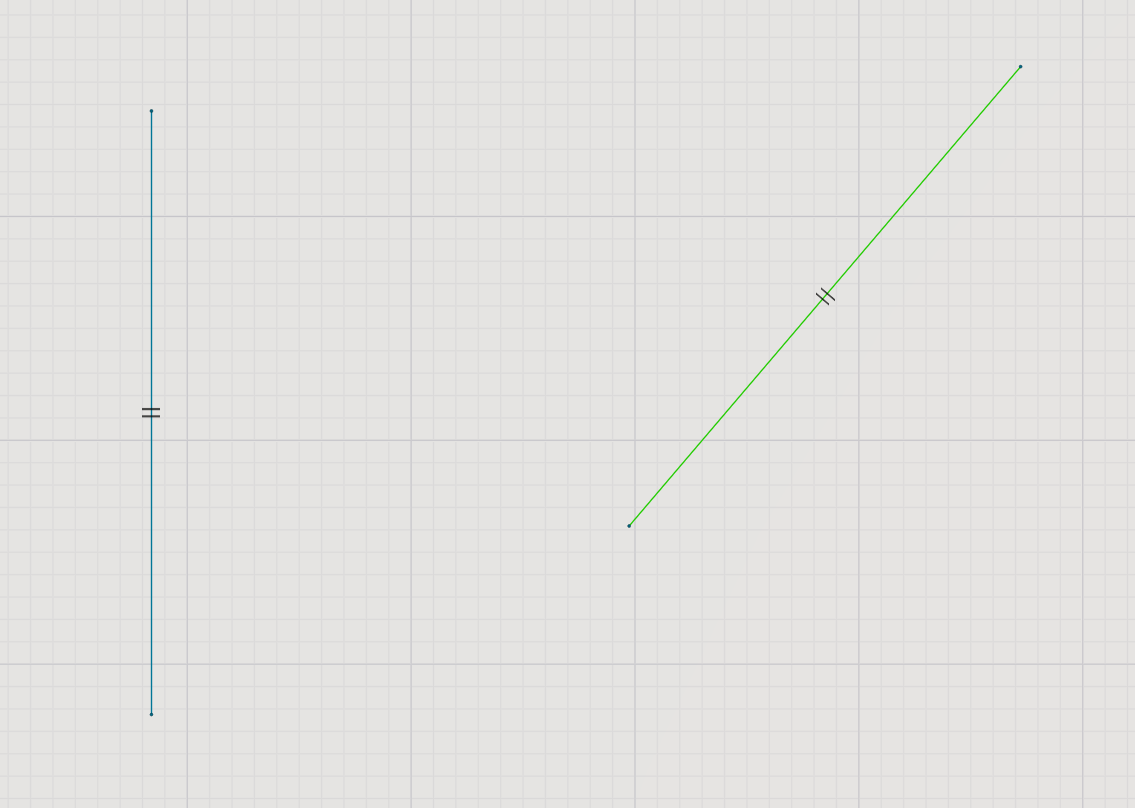
    images/download/attachments/157860785/image2025-5-21_12-27-55.png

    Parallel. Makes two elements parallel to each other. The limit sign is visible when one of the elements is selected.
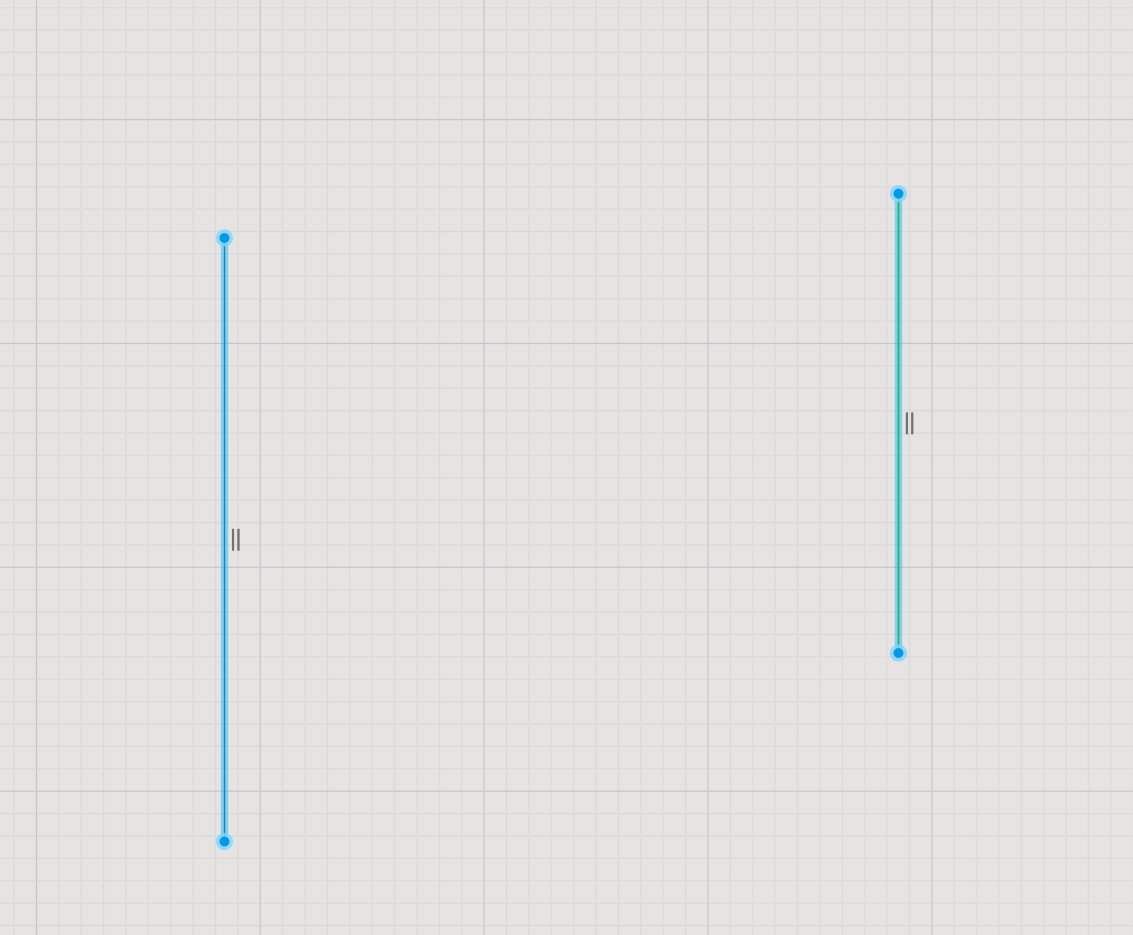
    images/download/attachments/157860785/image2025-5-21_12-32-55.png

    Perpendicular. Makes two elements perpendicular to each other.
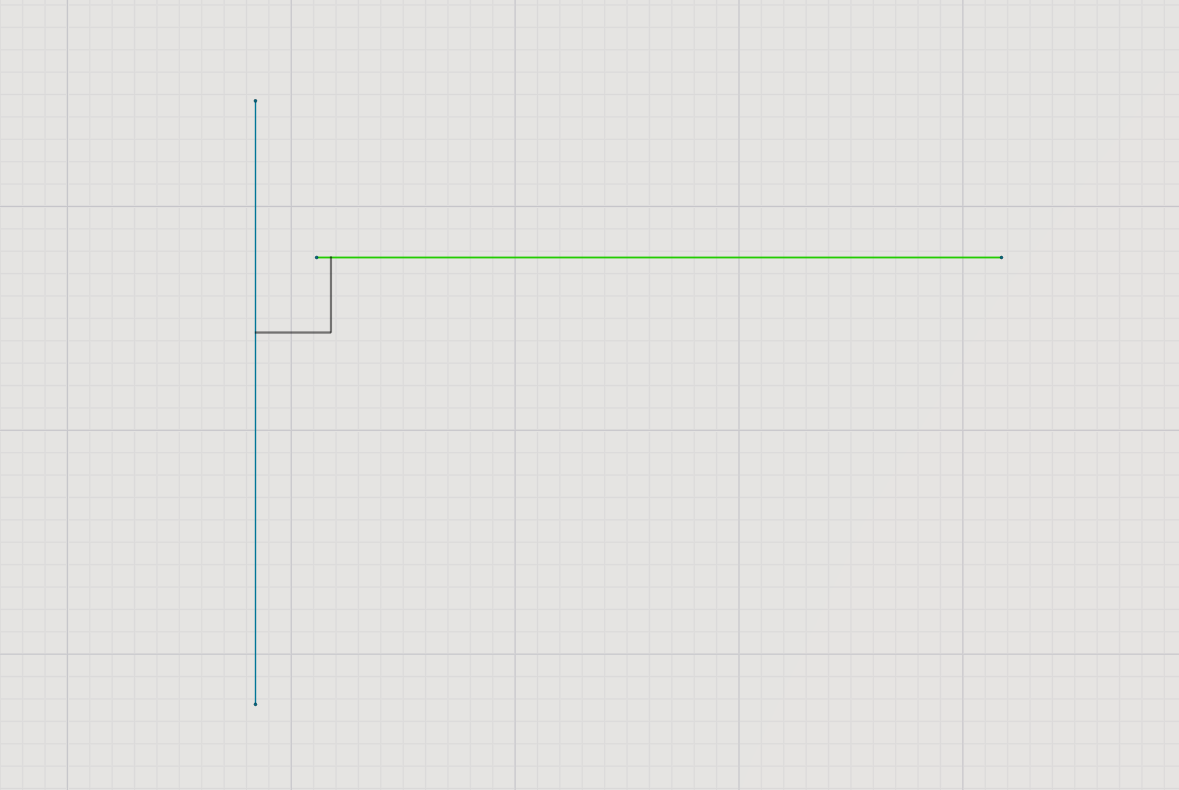
    images/download/attachments/157860785/image2025-5-21_12-37-12.png

    Colinear. Allows you to set 2 curves on 1 line.
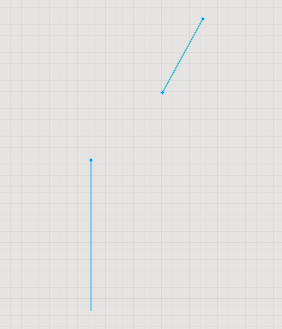
    images/download/thumbnails/157860785/image2025-5-21_12-42-22.png images/download/thumbnails/157860785/image2025-5-21_12-42-32.png

    The drawing also actively uses the different keys.

    • To move, select an element, hold down Shift and drag to the side
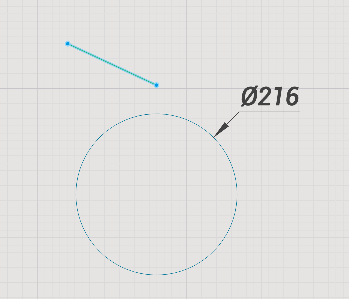
    images/download/thumbnails/157860785/image2025-5-21_12-47-35.png images/download/thumbnails/157860785/image2025-5-21_12-47-46.png

    To create a copy, select the element. Grab the point and use the Ctrl key
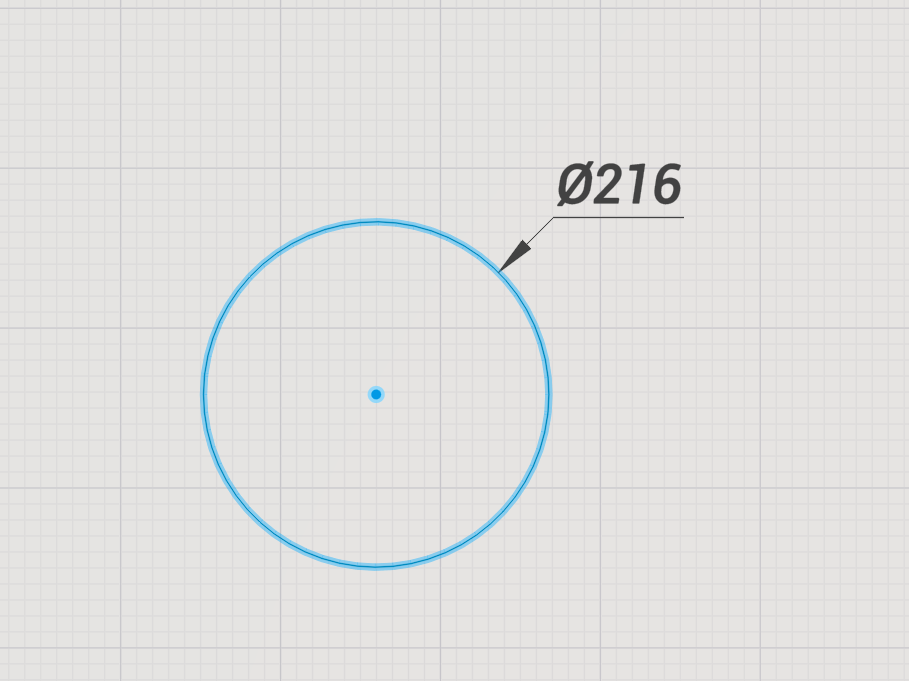
    images/download/attachments/157860785/image2025-5-21_12-50-26.png images/download/attachments/157860785/image2025-5-21_12-50-36.png

    To move, grab the element and press the Ctrl key.
    images/download/attachments/157860785/image2025-5-21_12-51-50.png images/download/attachments/157860785/image2025-5-21_12-51-58.png

    In this article
    Back to top ENCY 3 User Manual