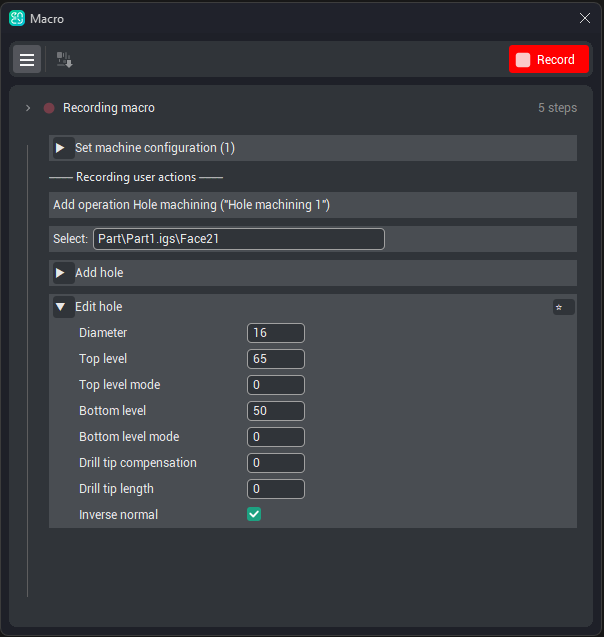
Editing steps
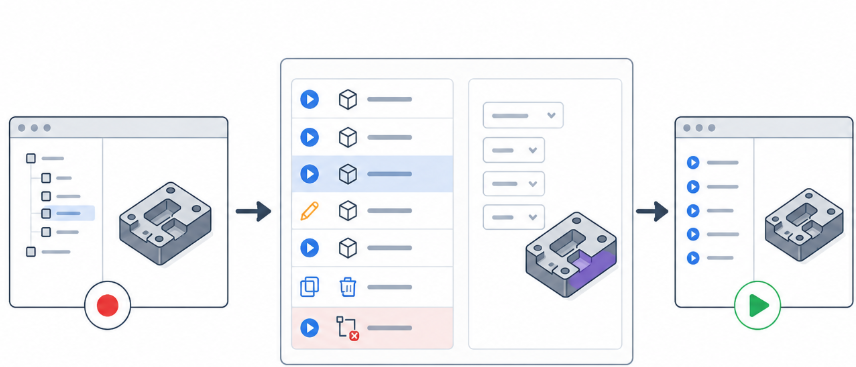
Application area:
Most step-editing operations are available during the recording of a macro or when it is opened for editing. A saved macro may also be adjusted for a single run.
The step list
Each recorded action is represented by a step row containing:
• Status dot. Located on the left of the row; also used to set a breakpoint
• Caption. Describes the purpose of the step.
• Editable parameters. Where present, one or more drop-downs or text fields.
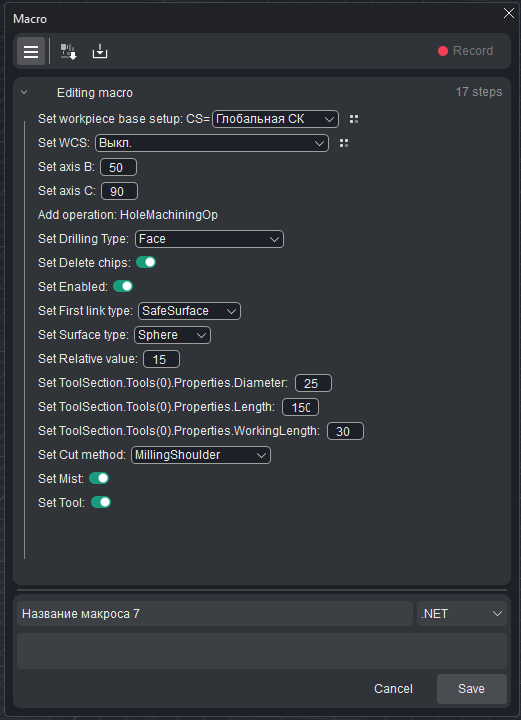
Changing a parameter value
For a drop-down, the required value is selected; for a text field, the value is typed. The new value is retained with the step.
Marking a field as an input
Recording captures the values actually used. To convert a fixed value into an input supplied on each run of the macro, its field is marked as required:
1. With the cursor over the step, press the  next to the field.
2. The field becomes an input (the field will be highlighted): the macro cannot be run until a value is supplied.
This mechanism is applied to values that change from part to part — a diameter, a level, an allowance.
Re-targeting a geometry item
Steps that reference an item in the model — a face, curve, hole, and so on — display that item as a field that allows re-selection:
1. Click the field (the field will be highlighted).
2. Select the new item in the 3D model.
The step updates to the selected item. The mechanism operates both during editing and for a saved macro before a run, which allows a single macro to be targeted at different geometry.
Removing a step
During recording or editing, with the cursor over the step, pressing the × at the end of the row removes the step from the macro.
Grouped steps
Related steps are folded under a group header that displays the group name — for example, Edit hole (5). Clicking the chevron on the header expands or collapses the group. Grouping simplifies the review of a lengthy macro.