Area cladding operation

Application Area:
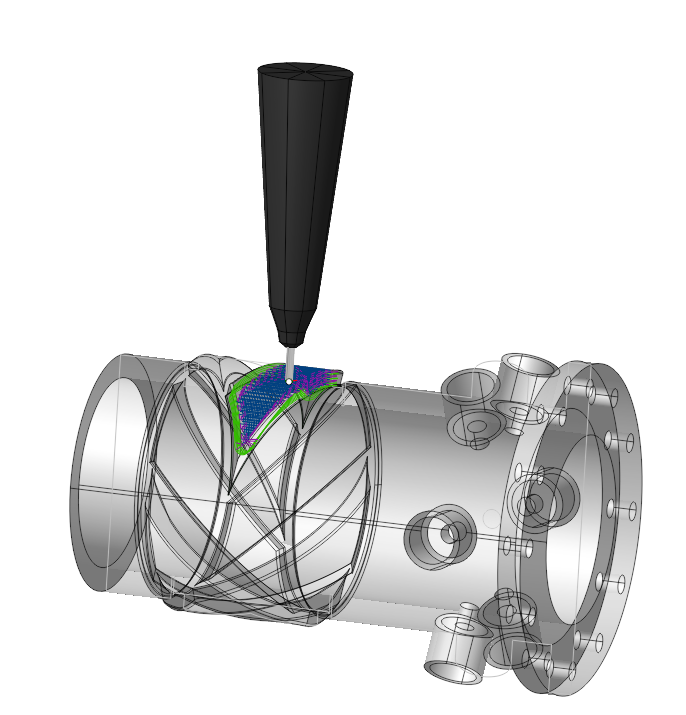
This operation deposits material onto an area enclosed by curves in the part . The user interface and job assignment of the operation is similar to the Pocketing operation.
The operation proceeds in several stages. Initially, select the base surface, on which cladding will be performed. To do this, click on "Base surface" button and then select desired surface on the screen. It can be plane, cylinder or body of revolution. The system automatically fills needed options, but if desired you can adjust the properties of the base surface, and then click "Yes." Now, to specify the local area, select the curves on the screen or edges of 3D model along the perimeter of desired area and add them by clicking "Add boss" button. Similarly pockets (holes) may be add into the previously created bosses. To limit the upper and lower levels you should select on the screen any geometrical element, lying at the desired level, and then press the "Top level" or "Bottom level" button respectively. The upper and lower levels you can set also by numerical values in the Properties inspector window.
Job Assignment:
Base Surface. This is the surface on which the trajectory is constructed according to the curve projected onto it. See more
Add Boss. Select the closed curve inside which to deposit the material . See more
Add Pocket. Select the closed curve outside of which the material should be deposited. This task only functions if a Boss is also specified in the Job Assignment. See more
Add Inversion. Indicates a closed area, inside which the machining rules will be reversed, i.e. processed areas will become unprocessed and vice versa. See more
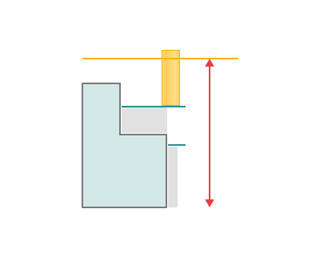
Top Level. Specifying the top level of material deposition by model elements. See more
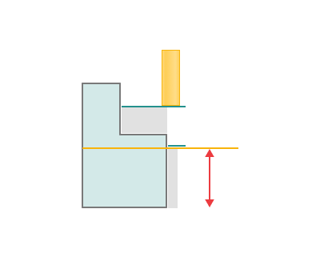
Bottom Level. Specifying the bottom level of material deposition by model elements. See more
Properties. Displays the properties of an element. It is possible to add the stock. You can also call this menu by double clicking on an item in the list. You can also modify the task type. When changing the task type to Ridge or Ditch, specify the Stock to define the element's thickness or width. See more
Delete. Removes an item from the list.
Strategy:
Machining Strategy.
This parameter allows the user to achieve a required toolpath:
Machining levels:
It defines the range along tool axis for the machining.
Trimming:
Allows for the skipping of surfaces not intended for machining and allows for the extension of the toolpath. The parameters of Trimming are the same as in the Waterline Roughing operation. See more.
Transformations.
A dialogue for transforming the toolpath. The parameters of Transformations are the same as in the 2D Contouring operation . See more.
Transformations:
Parameter's kit of operation, which allow to execute converting of coordinates for calculated within operation the trajectory of the tool. See more
See also:

