How to Create a Blank from a 3D Part Model
Application area:
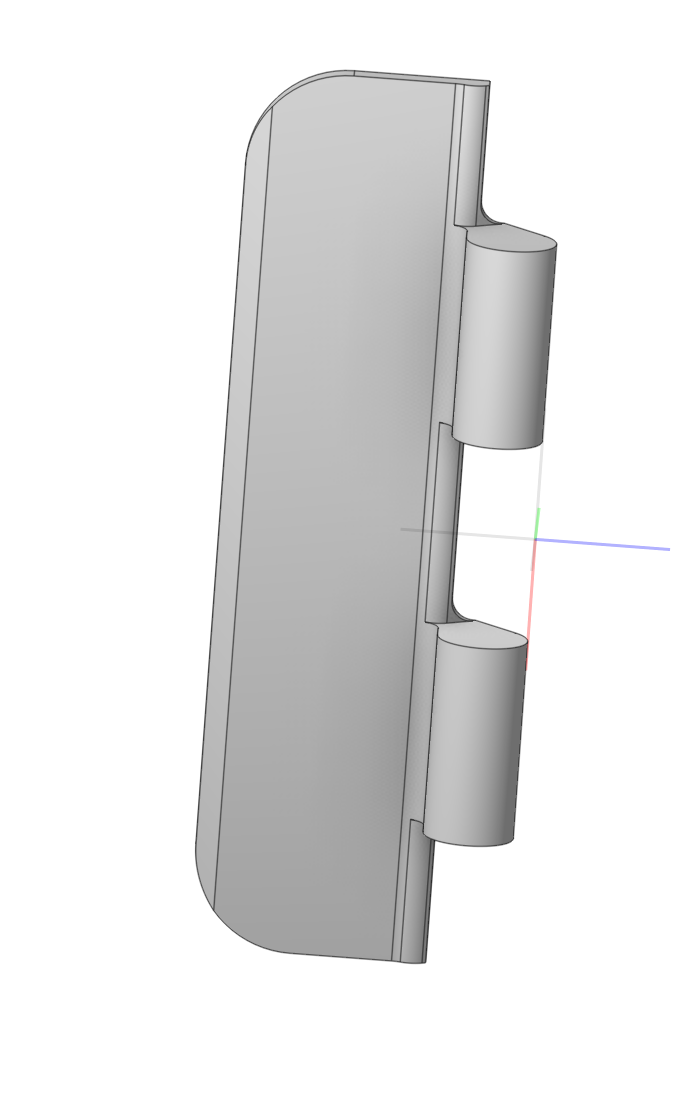
This will allow you to quickly create a blank or simplify the model (remove a hole, pocket, etc.) to simplify processing. It works with external files from other CAD systems.
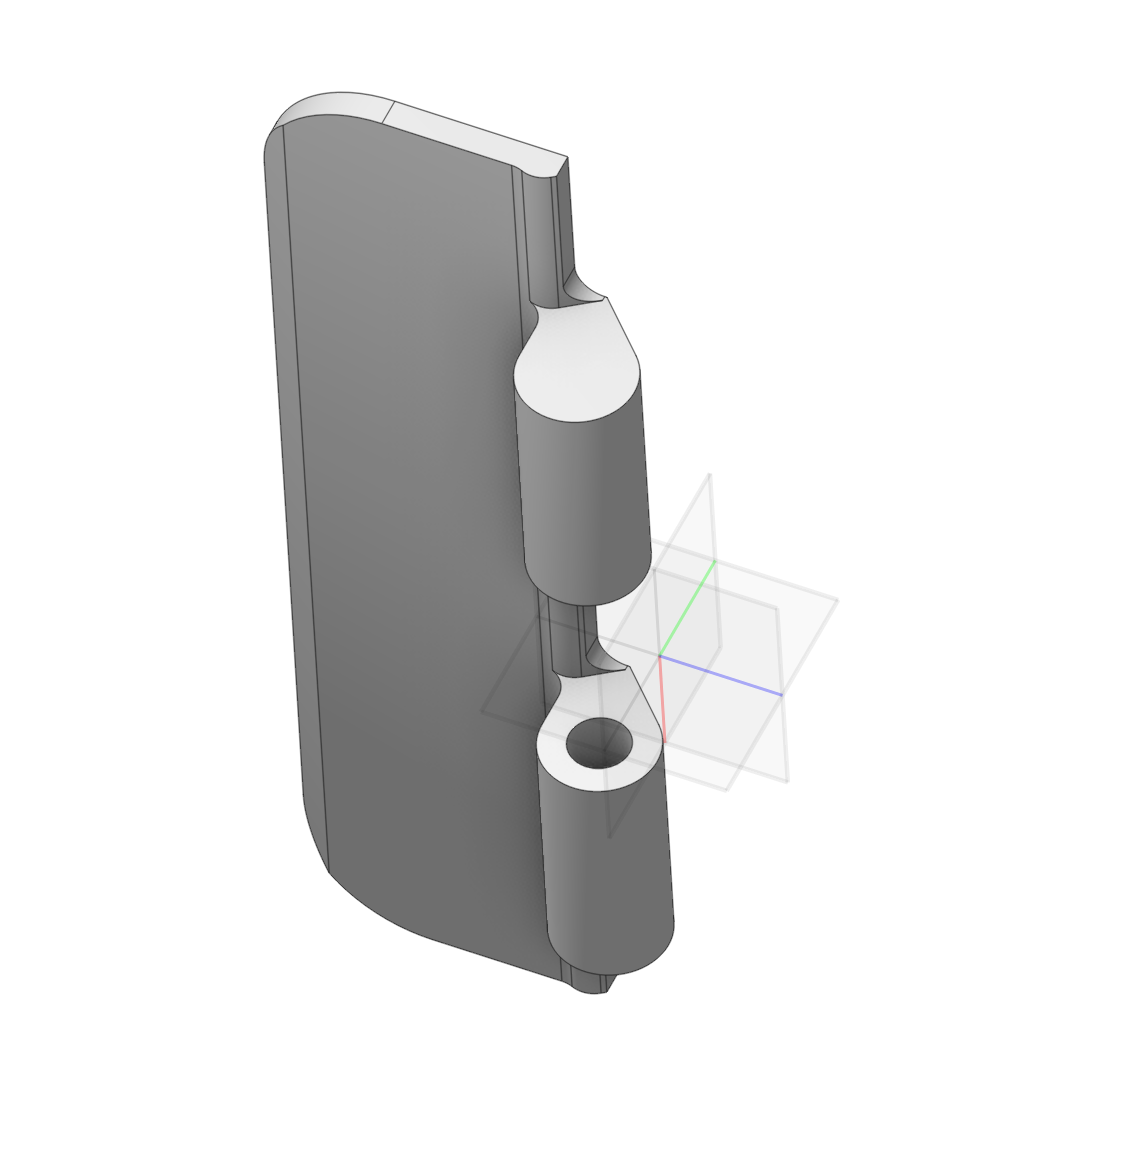
The process for creating stock from a 3D part model :
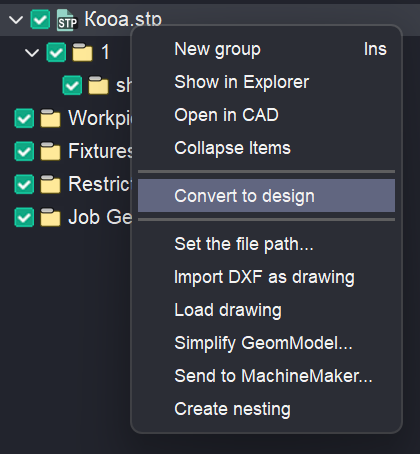
1.Converting the 3D Model to a CAM System Format. This requires right-clicking the model in the model tree and choosing Convert to design.
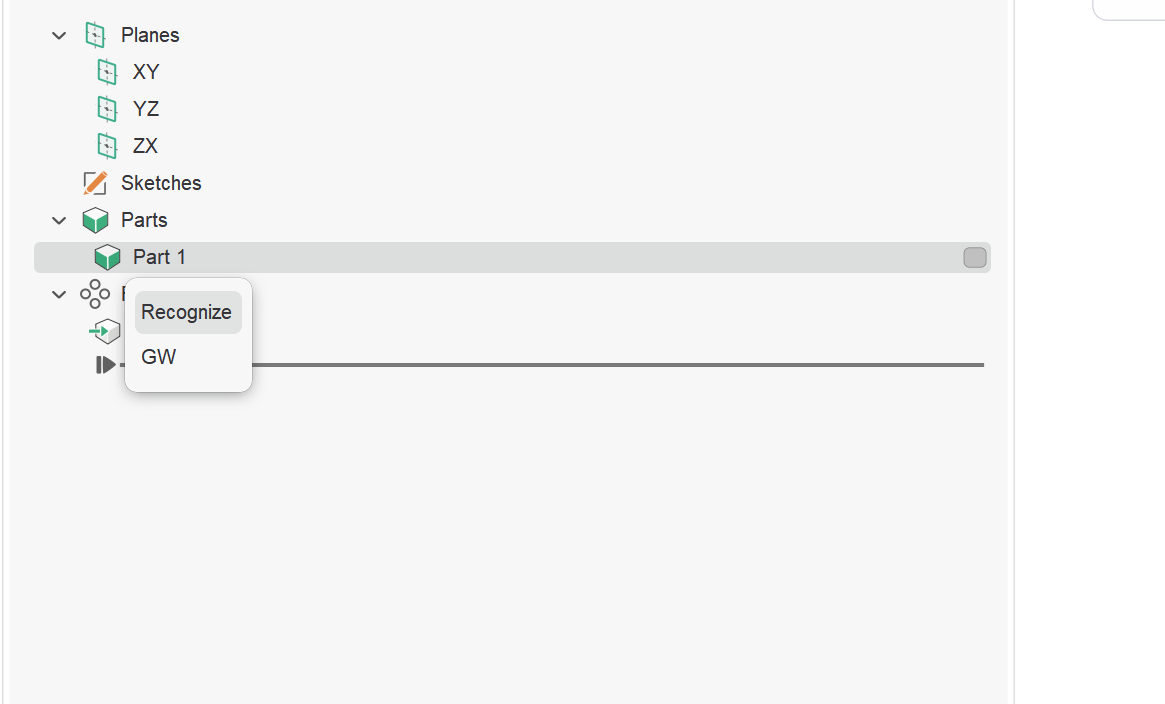
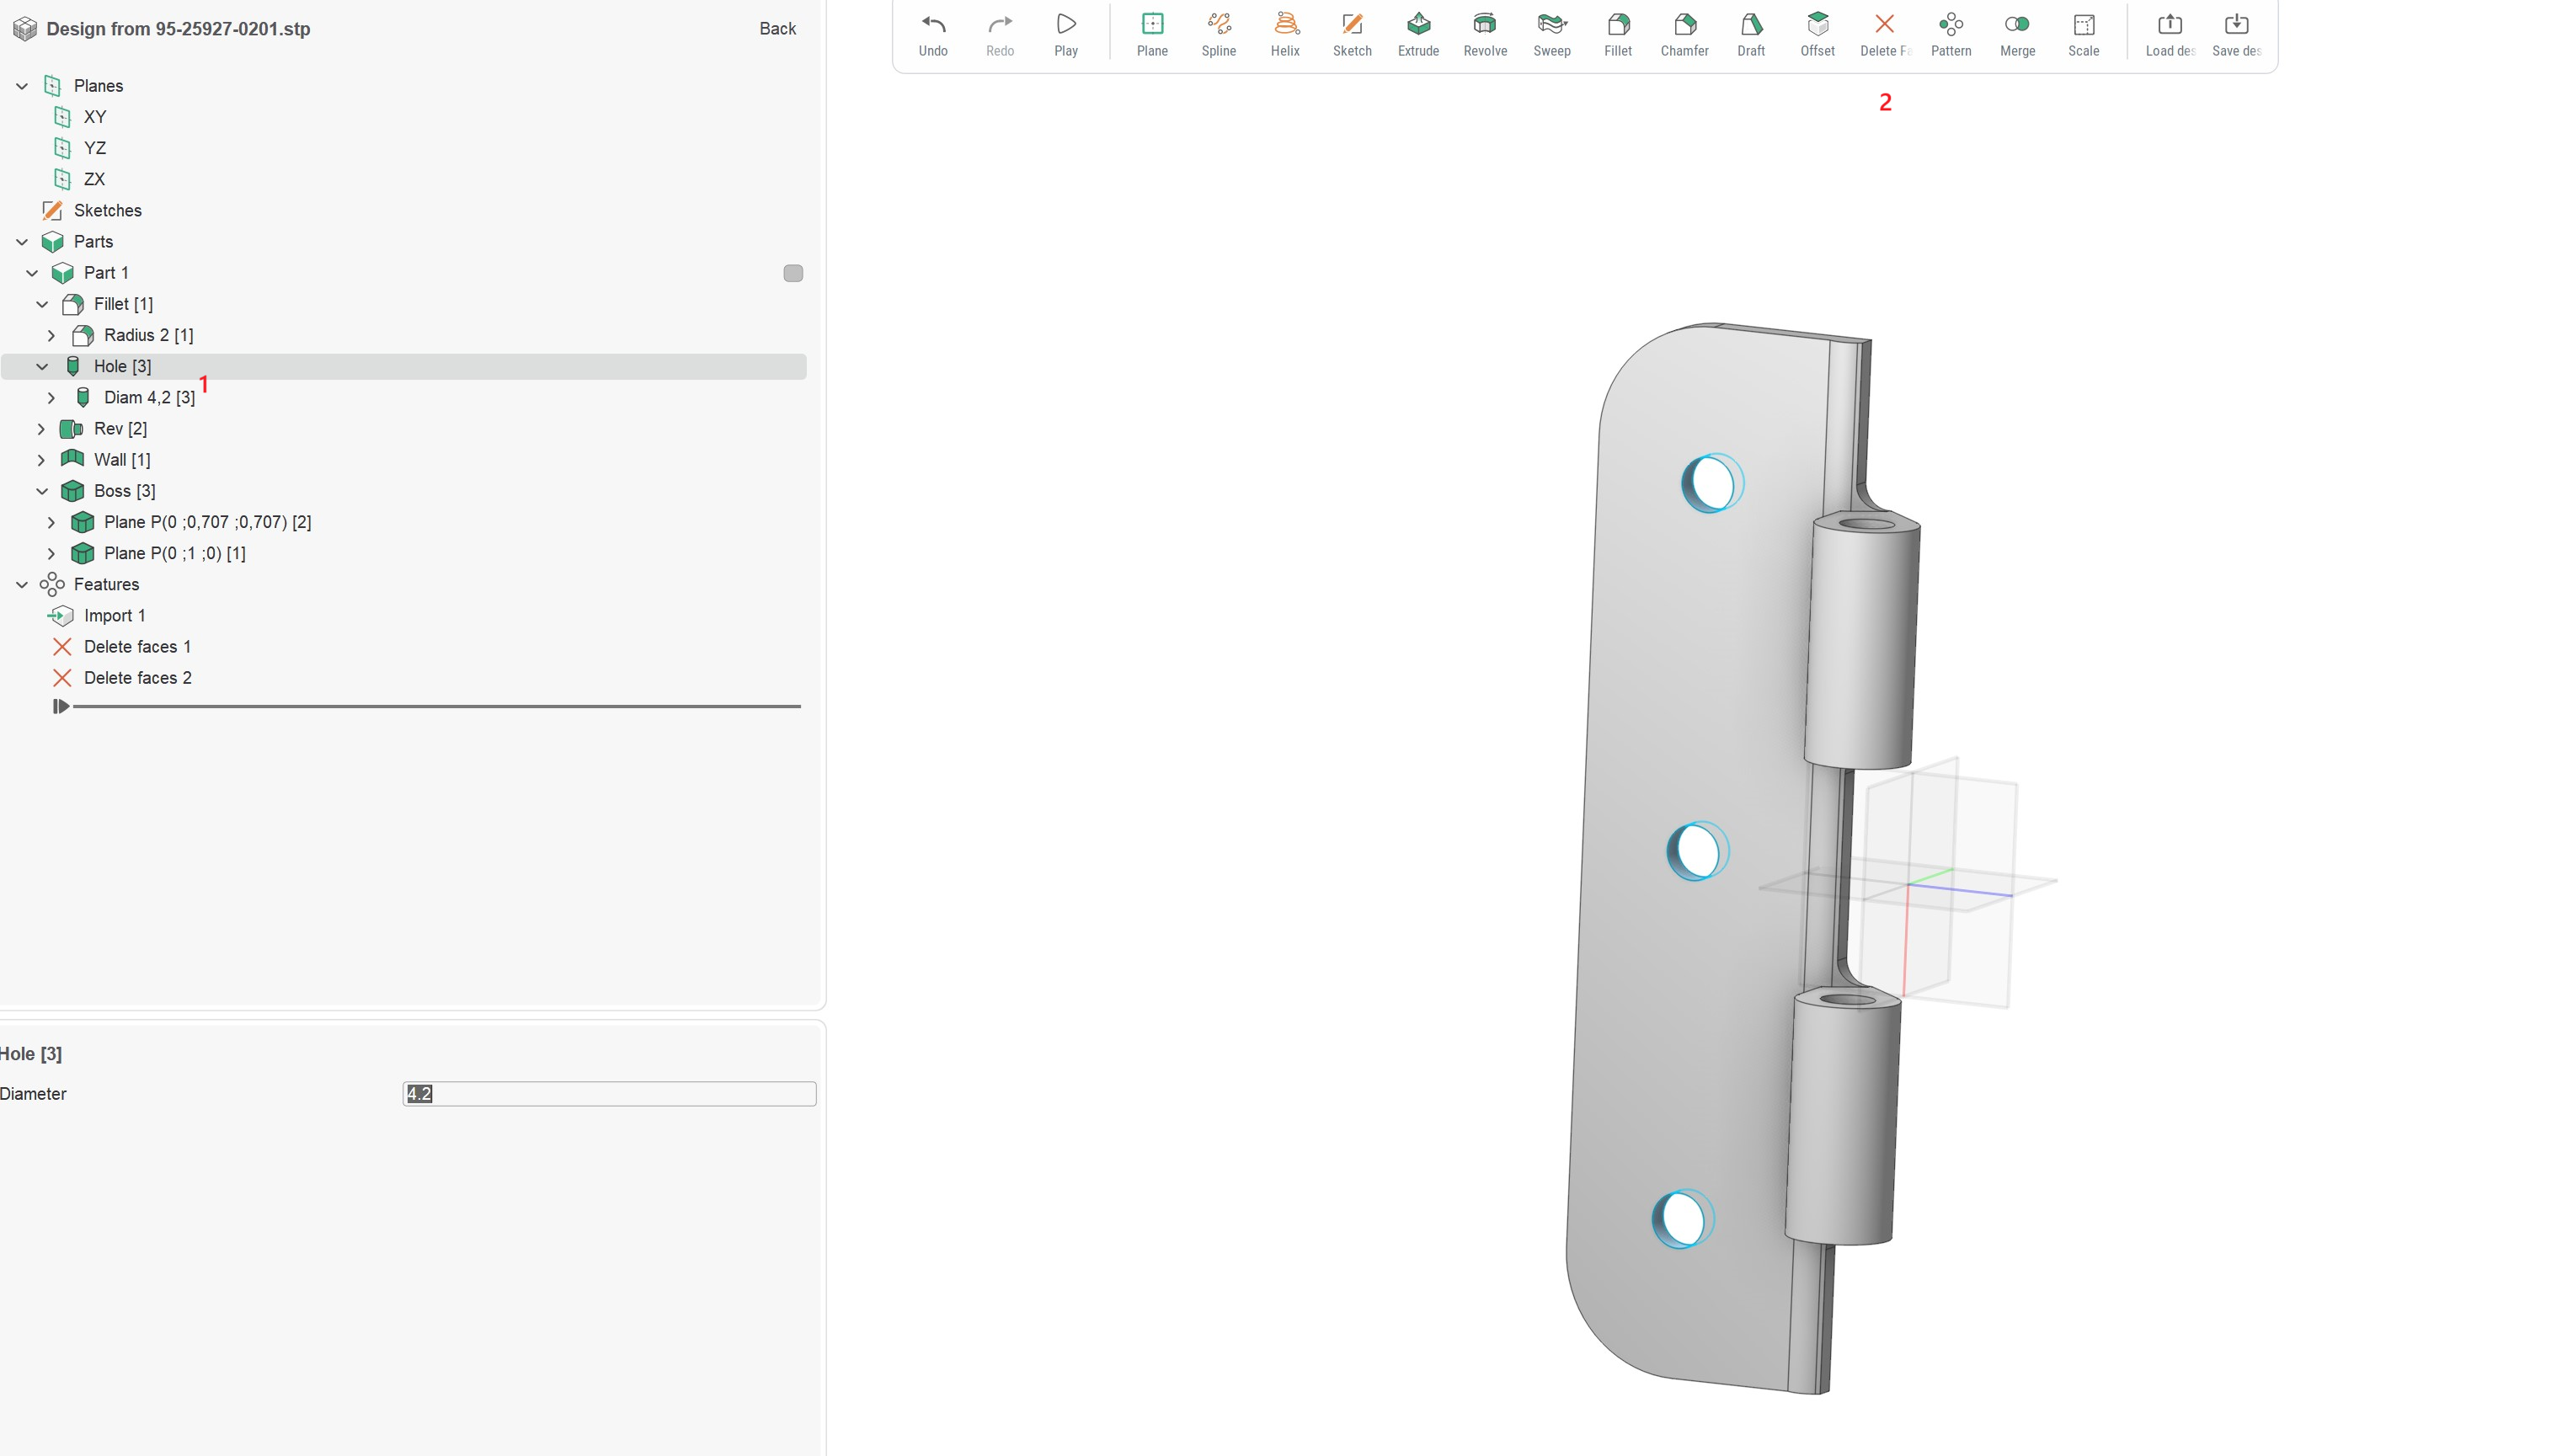
2.After the model opens in Design mode, right-click on the model in the construction tree and select Recognize.
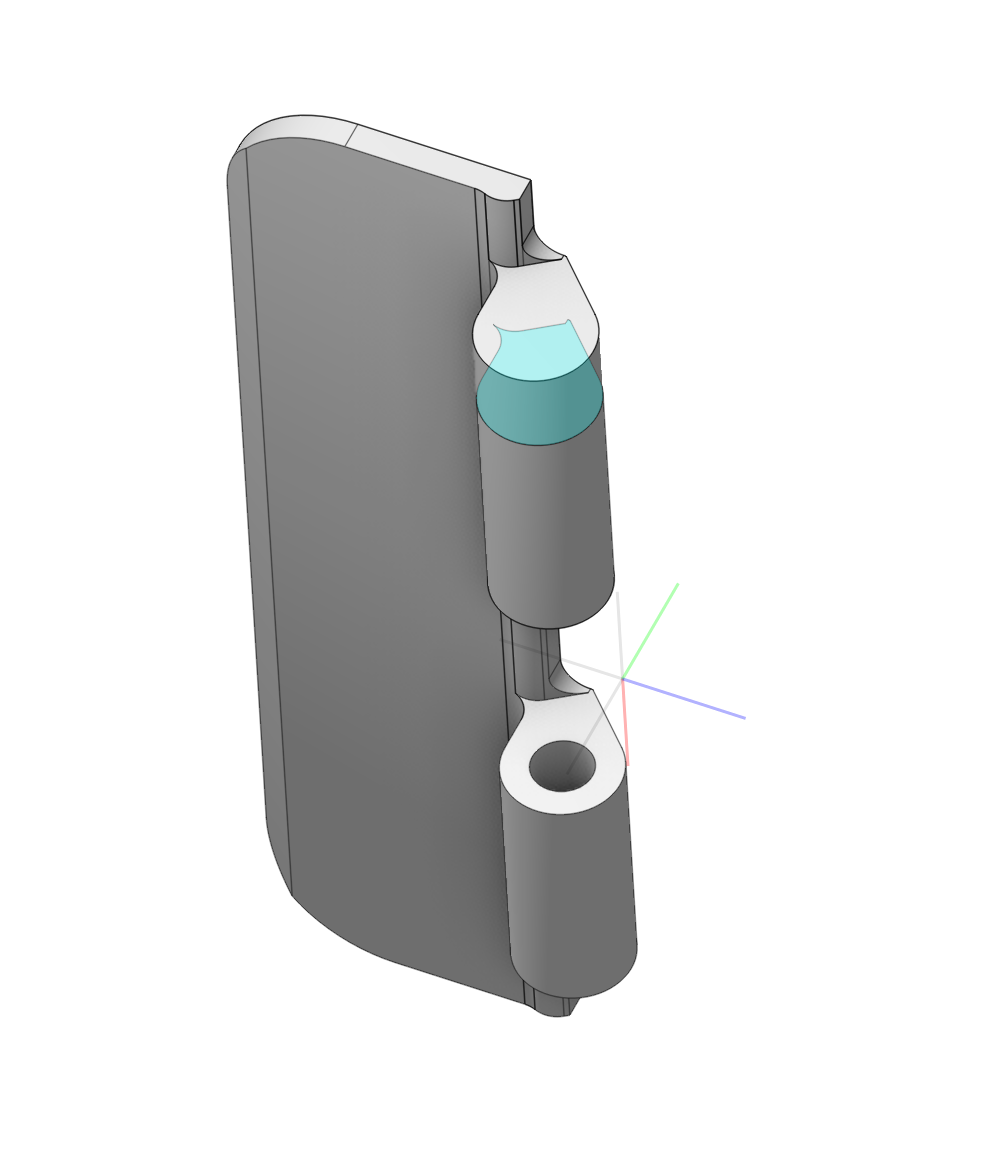
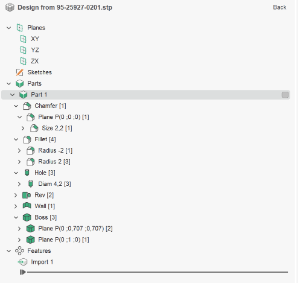
3.After this, typical features such as holes, pockets, and others will be highlighted in the construction tree.
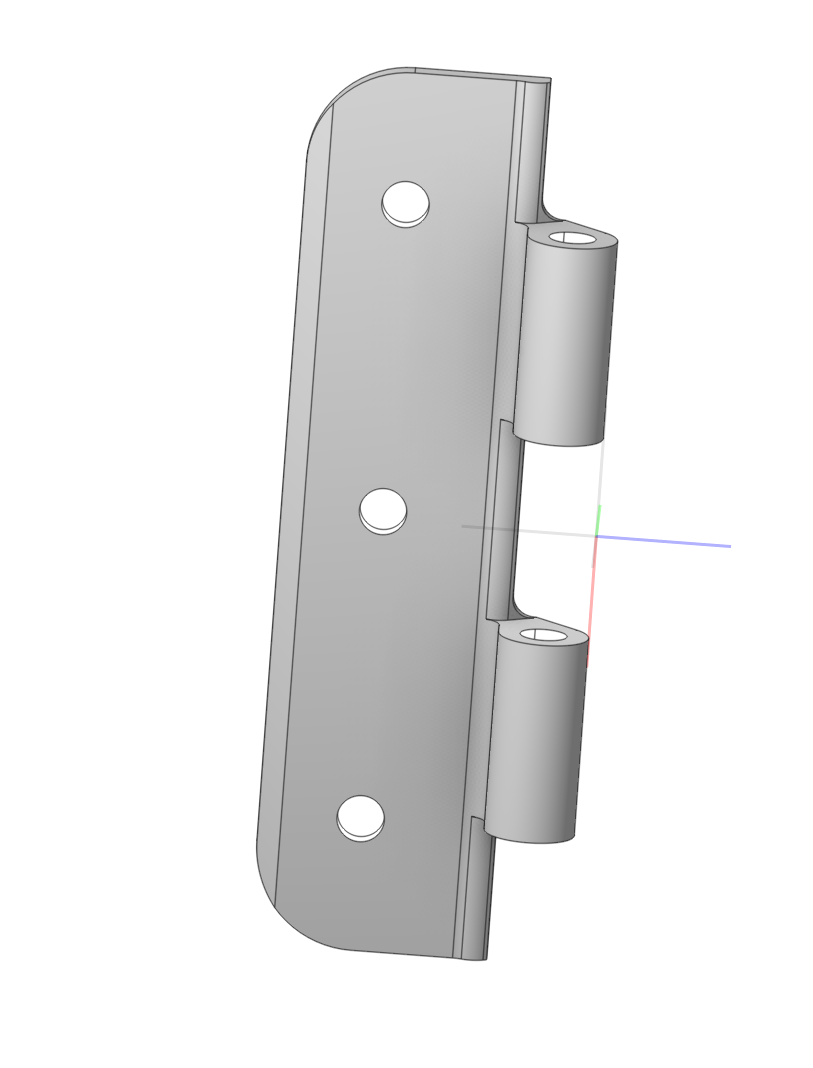
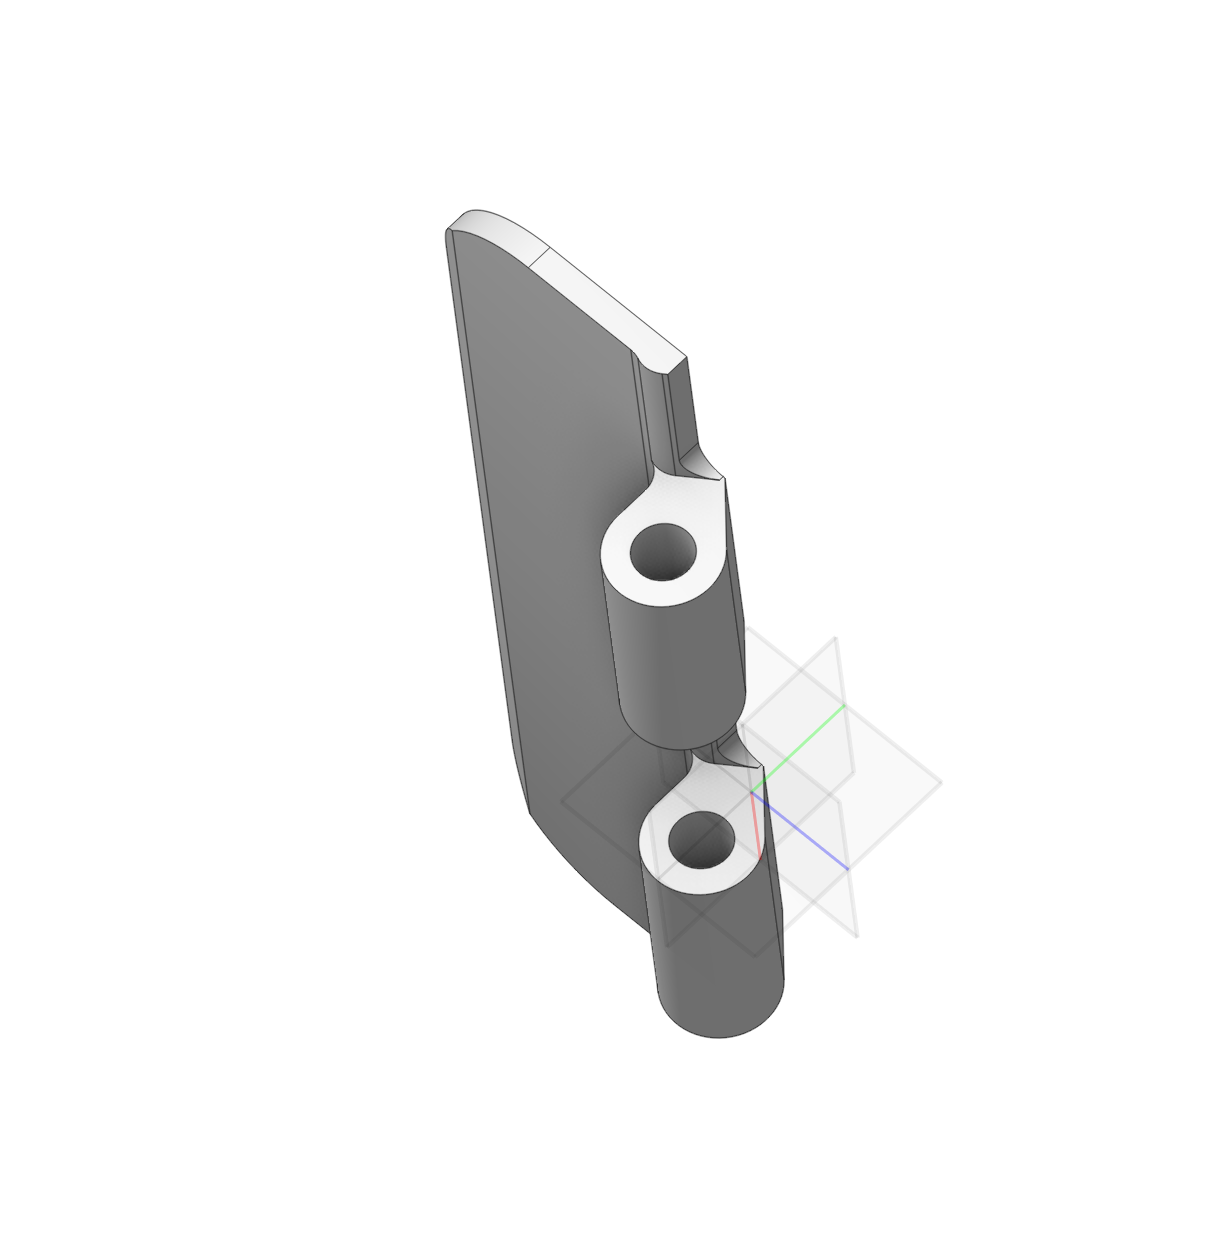
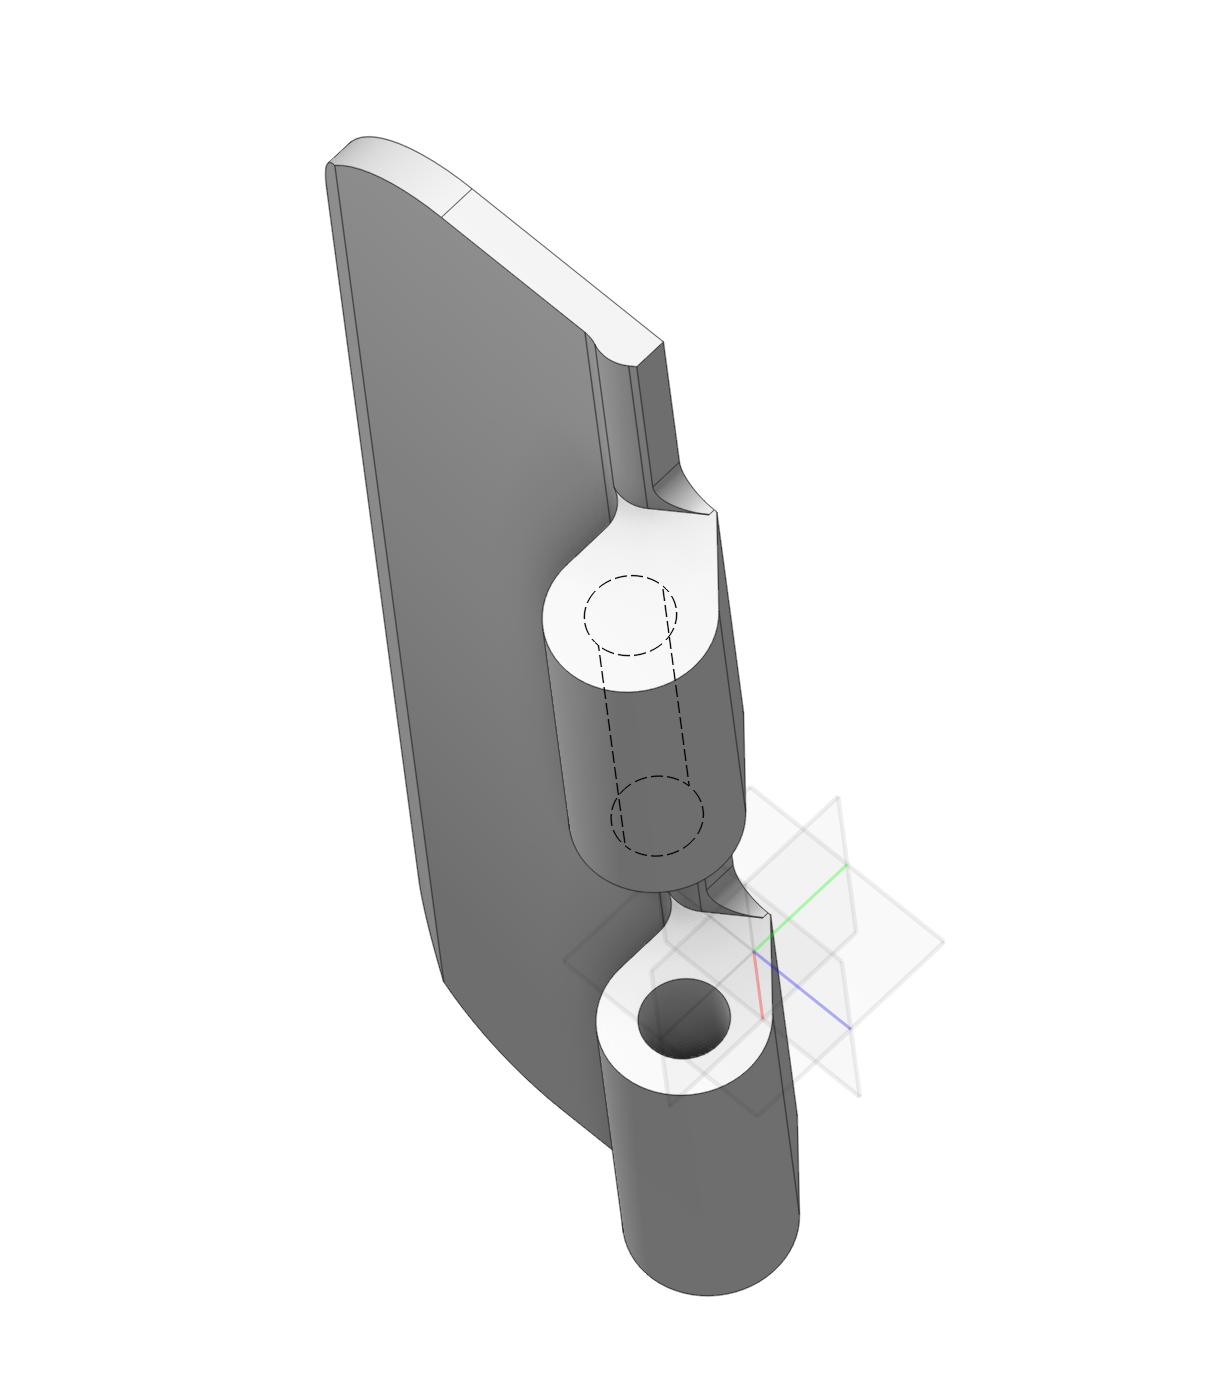
4.Using the delete or offset tools, you can create a blank according to your criteria.
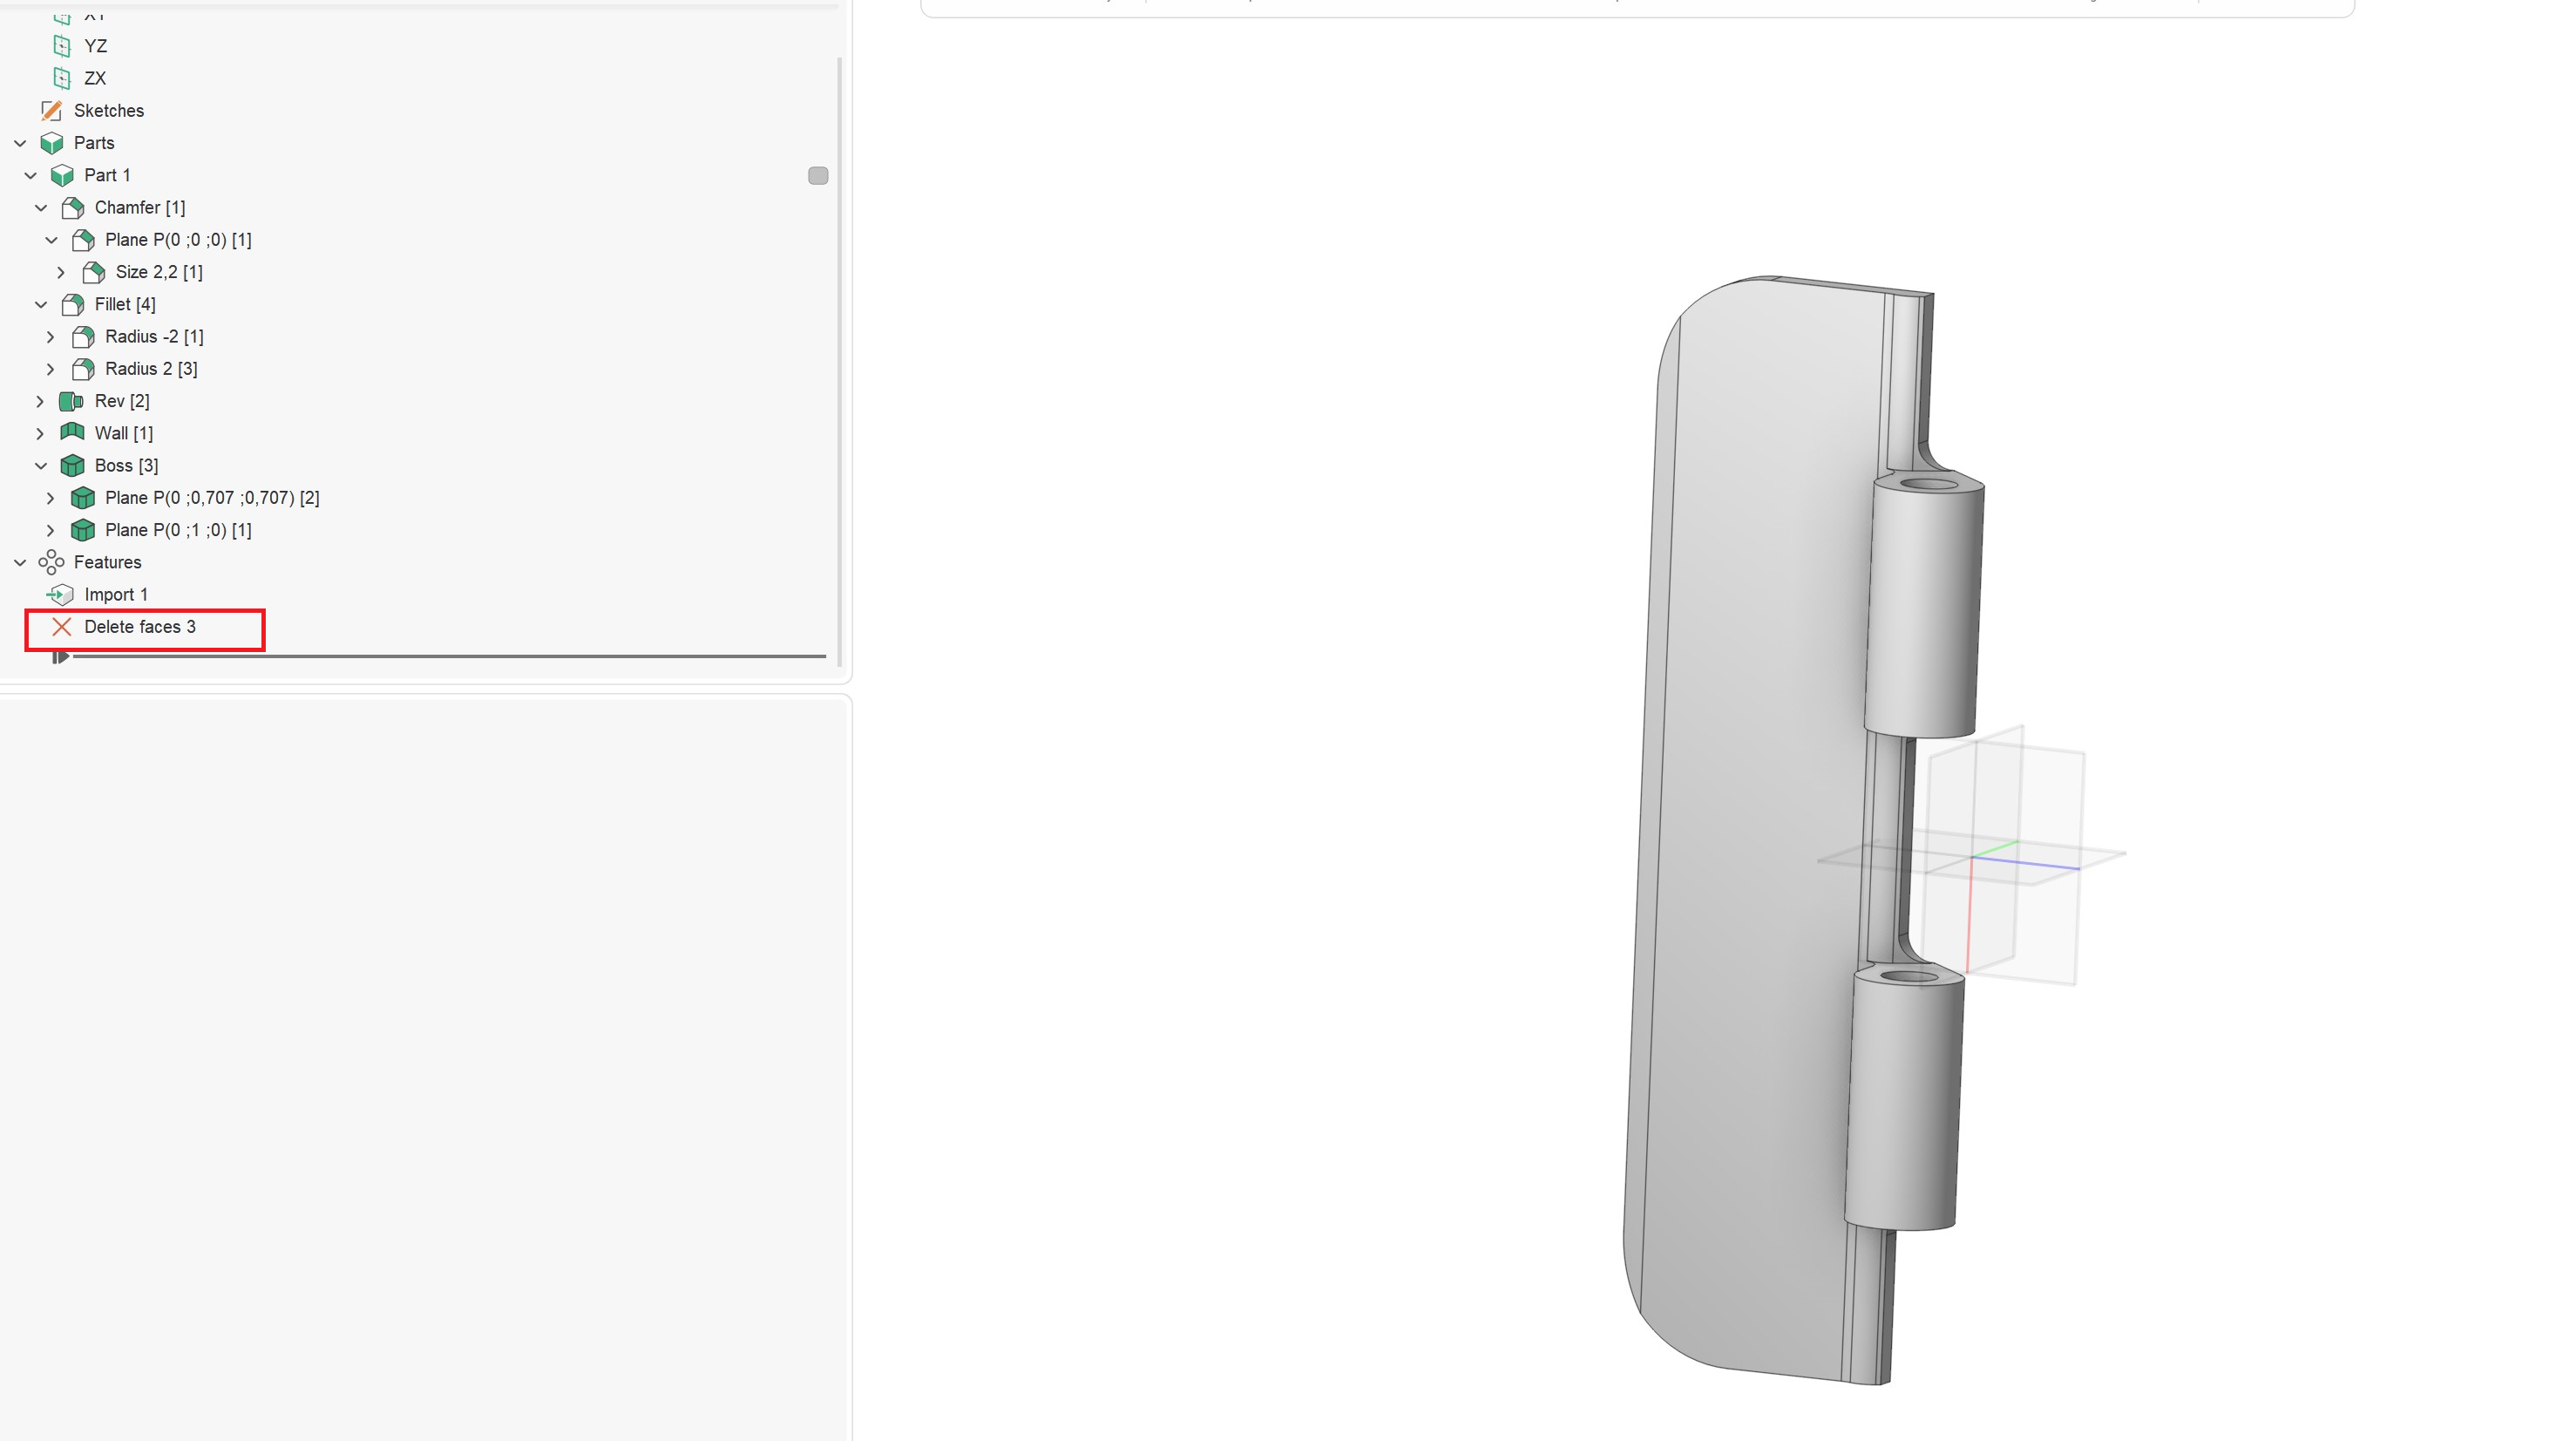
You can also select a separate surface to simplify it. Use the remove surface functionality.
If you also need to offset the surface, use the offset function.